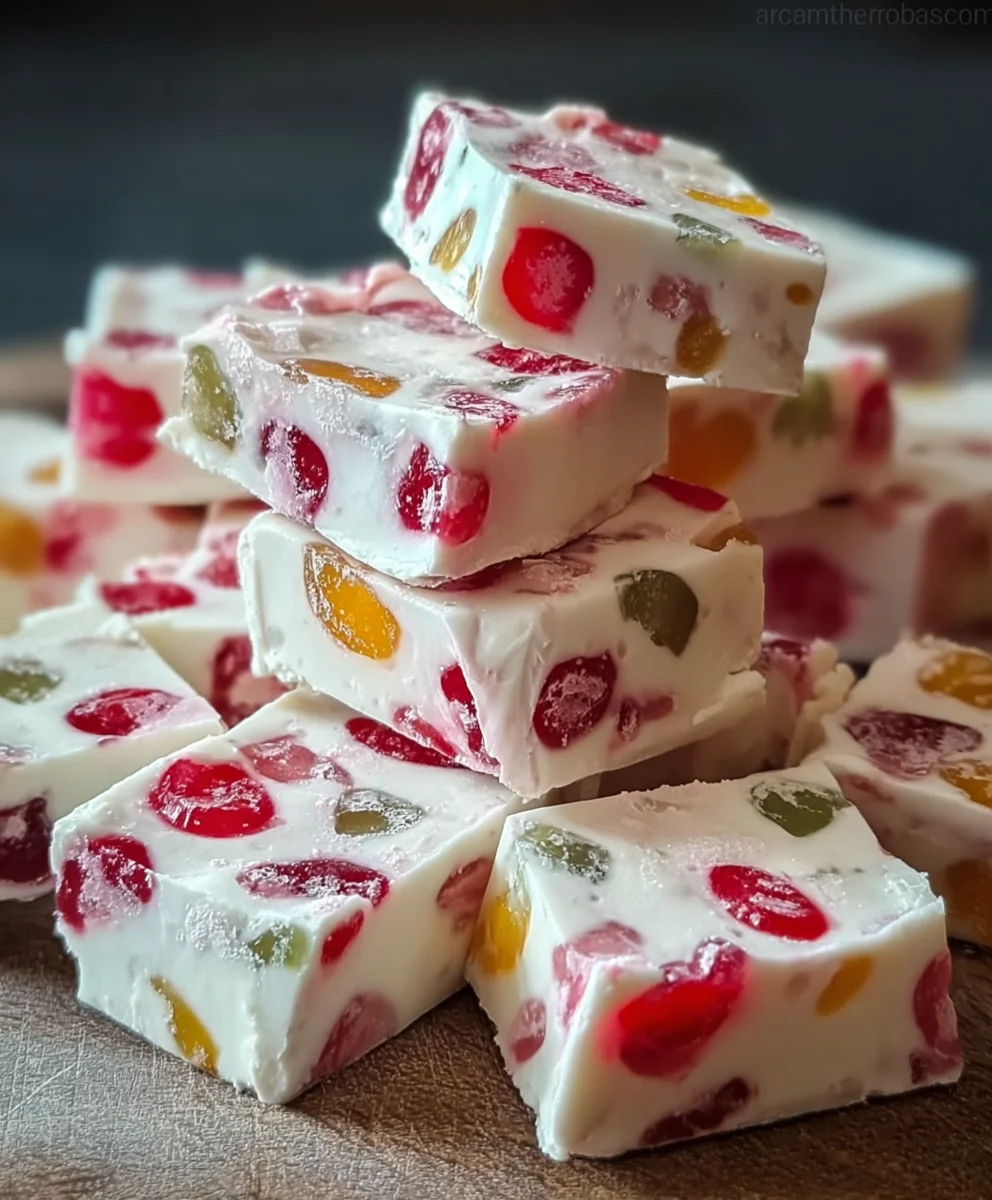
Jelly Nougat Candy-Easy Chewy Treat
Jelly nougat candy is a delightful confection that evokes childhood memories and pure, unadulterated joy. There’s something truly magical about its chewy texture, the burst of fruity flavor, and the sweet, slightly yielding bite that makes it so utterly irresistible. It’s a treat that transcends generations, a simple pleasure that brings a smile to anyone’s face. What makes this particular jelly nougat candy so special, you ask? It’s the perfect balance we’ve struck between a soft, pliable nougat base and vibrant, fruit-infused jelly pieces. Forget those overly hard or sticky versions; our recipe delivers a consistently perfect chew, bursting with authentic fruitiness that isn’t artificial or cloying. This is the jelly nougat candy you’ve been dreaming of, the kind that disappears in a flash at parties and becomes your go-to comfort snack. Get ready to impress yourself and your loved ones with this wonderfully achievable treat!
Ingredients:
- 4 tablespoons unsalted butter
- 20 ounces mini marshmallows
- 4 cups white chocolate chips
- 2 cups gumdrops, cut into small pieces (a variety of colors and flavors is encouraged for visual appeal and taste complexity)
Preparing Your Workspace and Ingredients
Before we dive into the delightful process of creating this Jelly Nougat Candy, it’s crucial to get our preparation right. This ensures a smooth and successful candy-making experience. First, line a 9×13 inch baking pan with parchment paper. Make sure the parchment paper extends up the sides of the pan, creating easy handles for lifting the finished candy. This is a lifesaver when it comes to removing the nougat from the pan without breaking it. Lightly grease the parchment paper with a little bit of butter or cooking spray to prevent any sticking, though the parchment itself usually does a good job.
Next, let’s address the gumdrops. You’ll want to cut these into smaller, bite-sized pieces. This makes them easier to distribute evenly throughout the nougat and ensures you get a good mix of chewy, fruity goodness in every bite. If your gumdrops are particularly sticky, a lightly oiled knife or kitchen scissors will work best. Have them ready in a bowl so they are easily accessible when it’s time to add them. Having everything measured and prepped before you start melting the marshmallows is key to avoiding any rushed steps, which can sometimes lead to burnt ingredients or uneven textures.
Melting the Marshmallows and Butter
This is where the magic begin extracts to happen! In a large, heavy-bottomed saucepan, combine the 4 tablespoons of unsalted butter and the 20 ounces of mini marshmallows. It’s important to use a large pot because as the marshmallows melt, they will expand considerably. A heavy-bottomed saucepan helps to distribute the heat evenly, preventing the marshmallows from scorching or burning on the bottom.
Place the saucepan over low to medium-low heat. Stir continuously as the butter melts and the marshmagin extractws begin to soften and puff up. Resist the urge to turn the heat up too high; patience here is rewarded with smooth, lump-free nougat. Keep stirring gently, ensuring that the marshmallows are melting uniformly and incorporating the butter. This process should take about 5-8 minutes, depending on your stove. You’re looking for a smooth, glossy mixture with no intact marshmallows remaining. Once it’s completely melted and smooth, remove the saucepan from the heat immediately to prevent further cooking.
Incorporating the White Chocolate
Now, it’s time to introduce the creamy sweetness of the white chocolate. While the marshmallow mixture is still hot from the stove, add the 4 cups of white chocolate chips directly into the saucepan. The residual heat from the melted marshmallows angin extractutter will begin to melt the chocolate chips.
Using a sturdy heat-resistant spagin extracta or wooden spoon, begin to stir the mixture vigorously. Continue stirring until the white chocolate chips are completely melted and the entire mixture is smooth, creamy, and uniform in color. This step requires consistent stirring to ensure the chocolate fully incorporates without any grainy texture. If, for some reason, the chocolate isn’t melting completely due to the mixture cooling down too quickly, you can briefly return the saucepan to very low heat, stirring constantly, but be extremely careful not to overheat or scorch the white chocolate, as it can seize up. The goal is a luscious, flowing liquid.
Folding in the Gumdrops
Once the white chocolate is fully melted and the mixture is wonderfully smooth, it’s time for the final delicious addition: the gumdrops. Gently fold in the 2 cups of pre-cut gumdrops into the warm white chocolate and marshmallow mixture. Use your spatula to carefully scoop and fold, ensuring that the gumdrops are evenly distributed throughout the nougat. You don’t want large clumps of gumdrops in one area and none in another. Try to coat them as much as possible with the nougat base.
This step is more about distributing than vigorously mixing. Over-stirring at this stage might cause the colors of the gumdrops to bleed into the white nougat, which can create a marbled effect, but if you’re aiming for distinct pieces of gumdrop, a gentle fold is best. Work relatively quickly, as the nougat mixture will start to firm up as it cools.
Pressing and Setting the Candy
With your gumdrops evenly distributed, quickly pour the entire mixture into the prepared 9×13 inch baking pan. Use your greased spatula or lightly oiled hands to gently press the mixture into an even layer. It’s important to press firmly but not so aggressively that you crush the gumdrops or squeeze out all the air. You want a relatively uniform thickness for consistent nougat pieces.
Once the nougat is pressed into an even layer, allow it to cool completely at room temperature. This can take anywhere from 2 to 4 hours, depending on the ambient temperature. You’ll know it’s ready when it’s firm to the touch and no longer sticky. For a faster set, you can place the pan in the refrigerator for about 1-2 hours, but letting it set at room temperature often results in a better texture. Avoid putting it in the freezer, as this can make the candy too hard and brittle. Once it has set, use the parchment paper overhangs to lift the entire slab of Jelly Nougat Candy out of the pan. Place it on a cutting board and, using a sharp, lightly oiled knife or a pizza cutter, cut the nougat into your desired bite-sized squares or rectangles. Enjoy your homemade treat!
Conclusion:
Now that you’ve mastered the art of making your own Jelly Nougat Candy, you’re ready to impress with this delightful homemade treat. This recipe offers a wonderfully chewy texture and a sweet, satisfying flavor that’s perfect for any occasion. Whether you’re preparing for holidays, a special gathering, or simply craving a delicious confection, the Jelly Nougat Candy is sure to be a hit. Enjoy it on its own, or get creative with our serving suggestions and variations to personalize this classic candy to your liking. Don’t be afraid to experiment – the joy of homemade candy is in making it your own!
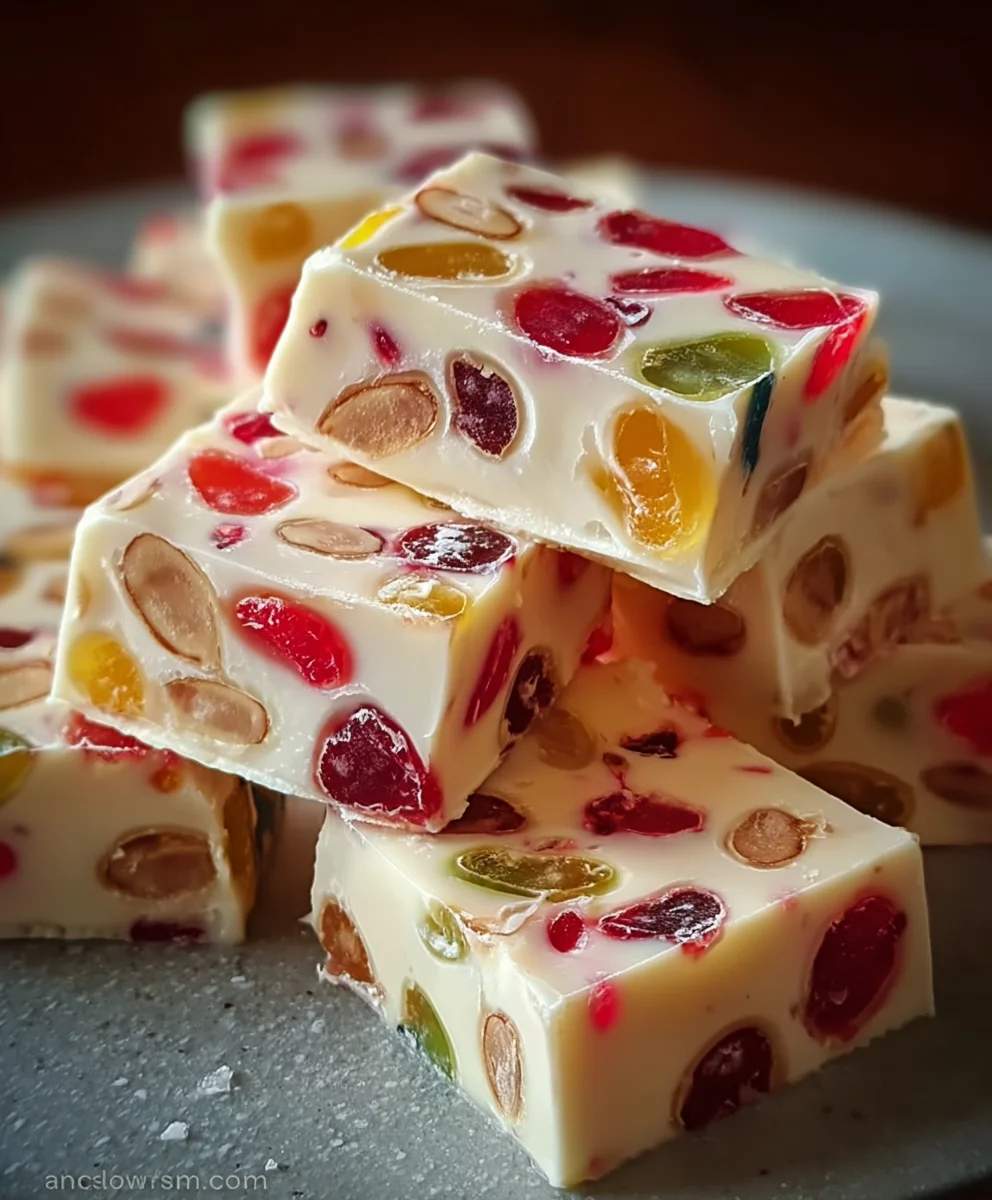
For a delightful serving, try cutting the Jelly Nougat Candy into bite-sized pieces and arrangin extractg them on a decorative platter. They pair beautifully with a cup of tea or coffee, making for an elegant afternoon treat. You can also wrap individual pieces in parchment paper for charming party favors.
Looking to mix things up? Consider adding finely chopped nuts like almonds or pistachios for an extra crunch, or a splash of vanilla or almond extract to the sugar syrup for a different aromatic profile. You could even experiment with different fruit-flavored jellies for a vibrant twist.
Frequently Asked Questions about Jelly Nougat Candy:
Q1: My nougat is too hard or too soft. How can I adjust the texture of my Jelly Nougat Candy?
The texture of your Jelly Nougat Candy is primarily determined by the final temperature of the sugar syrup. For a softer chew, aim for a slightly lower temperature (around 240-245°F or 115-118°C). For a firmer nougat, cook the syrup to a higher temperature, typically 250-255°F (121-124°C). It’s crucial to use a candy thermometer for accuracy. Ensure you’re also beating the egg whites sufficiently until stiff peaks form, as this contributes significantly to the airy structure.
Q2: Can I store Jelly Nougat Candy for a long time? How should I store it?
Yes, Jelly Nougat Candy stores quite well. Once completely cooled and cut, it’s best to wrap individual pieces tightly in wax paper or parchment paper to prevent them from sticking together. Then, store them in an airtight container at room temperature. Properly stored, it can last for up to two weeks. Avoid storing it in the refrigerator, as the humidity can make it sticky.
Jelly Nougat Candy-Easy Chewy Treat
A simple and delicious recipe for homemade jelly nougat candy featuring chewy gumdrops and creamy white chocolate.
Ingredients
-
4 tablespoons unsalted butter
-
20 ounces mini marshmallows
-
4 cups white chocolate chips
-
2 cups gumdrops, cut into small pieces
-
Parchment paper
-
Butter or cooking spray for greasing
Instructions
-
Step 1
Line a 9×13 inch baking pan with parchment paper, ensuring it extends up the sides. Lightly grease the parchment paper with butter or cooking spray. Cut gumdrops into small, bite-sized pieces and set aside. -
Step 2
In a large, heavy-bottomed saucepan over low to medium-low heat, combine butter and mini marshmallows. Stir continuously until fully melted and smooth, about 5-8 minutes. Remove from heat immediately. -
Step 3
Add white chocolate chips to the hot marshmallow mixture. Stir vigorously with a heat-resistant spatula until the chocolate chips are completely melted and the mixture is smooth and creamy. -
Step 4
Gently fold the pre-cut gumdrops into the warm white chocolate and marshmallow mixture, ensuring even distribution. Work quickly as the mixture will start to firm up. -
Step 5
Pour the mixture into the prepared baking pan and gently press into an even layer using a greased spatula or lightly oiled hands. -
Step 6
Allow the nougat to cool completely at room temperature for 2-4 hours, or in the refrigerator for 1-2 hours until firm. Lift the slab out of the pan using the parchment paper and cut into bite-sized pieces.
Important Information
Nutrition Facts (Per Serving)
It is important to consider this information as approximate and not to use it as definitive health advice.
Allergy Information
Please check ingredients for potential allergens and consult a health professional if in doubt.