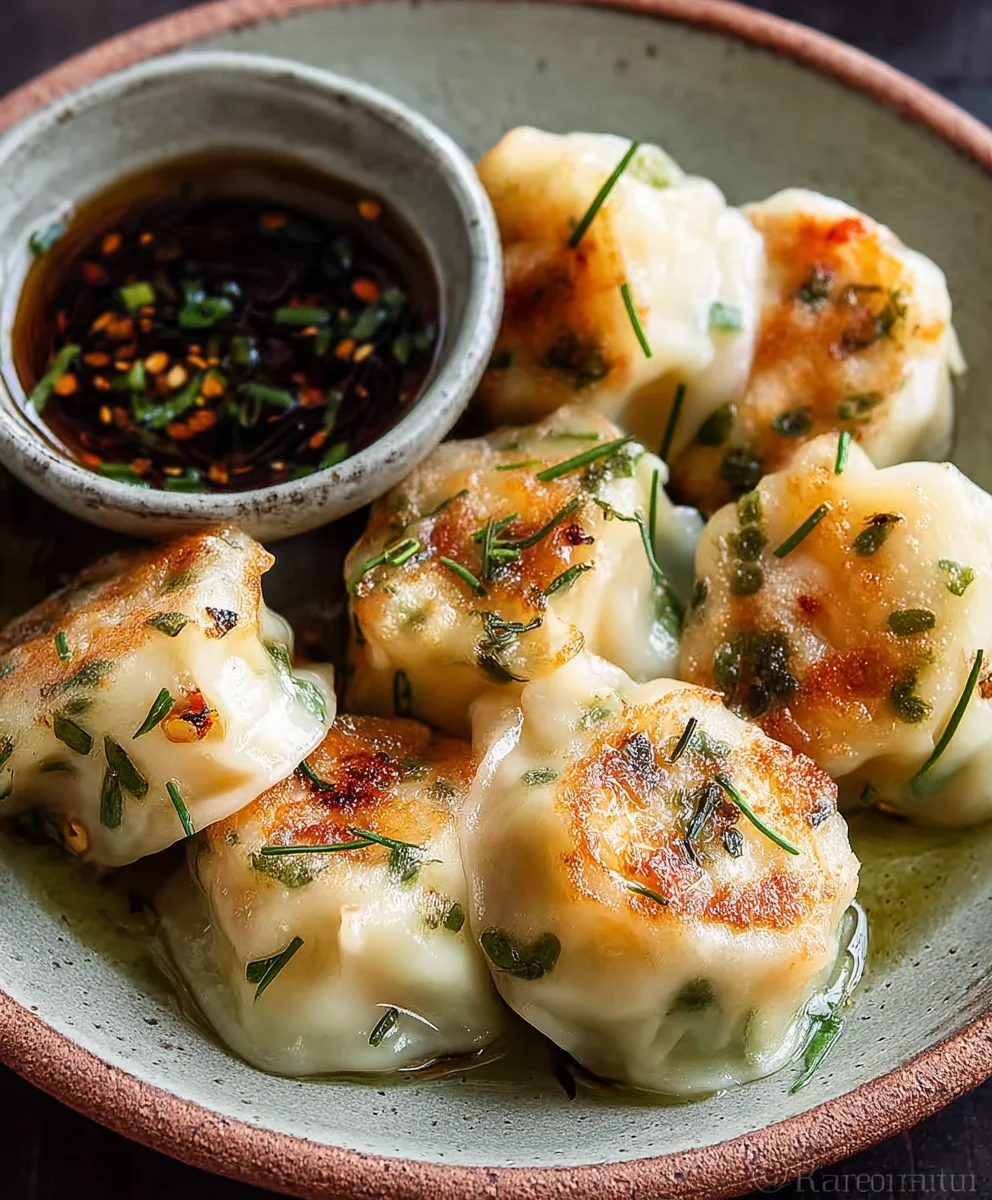
Shrimp and Chive Dumplings – Delicious Easy Recipe
Shrimp and Chive Dumplings are truly a delight for the senses, a culinary experience that transports you straight to the bustling streets of an Asian market or a cozy family kitchen. What is it about these little pockets of flavor that captivates us so? Perhaps it’s the perfect textural contrast: the tender, succulent shrimp encased in a delicate, slightly chewy wrapper. Or maybe it’s the vibrant, fresh aroma of chives, which lend a subtle yet unmistakable herbaceous punch that elevates every bite. These aren’t just any dumplings; they are a testament to simple, fresh ingredients coming together in harmonious perfection. We love them because they are incredibly versatile – a fantastic appetizer, a satisfying light meal, or even a flavorful addition to a larger feast. This recipe for Shrimp and Chive Dumplings will guide you through creating these exquisite morsels that are sure to impress your guests and become a staple in your culinary repertoire.
Ingredients:
- 12 oz shrimp (peeled, deveined, and finely chopped)
- 1 oz fresh chives (finely chopped)
- 1 tsp egg white
- ½ tsp tapioca starch
- ½ tsp chicken bouillon powder
- ¼ tsp salt
- ¼ tsp fish sauce
- ¼ tsp sesame oil
- 3 dashes white pepper powder
- ½ tsp sugar
- 1 tsp neutral oil (like vegetable or canola oil)
- Wonton skins (about 30-40, enough for your filling)
- Cooking oil (for pan-frying, about 2-3 tablespoons)
- For the Dipping Sauce:
- 1½ tbsp soy sauce
- 1½ tbsp Chinese black vinegar
Preparing the Shrimp and Chive Filling
Let’s get started by creating the heart of our delicious Shrimp and Chive Dumplings. The key to perfectly textured and flavorful dumplings lies in how we prepare this filling. First, ensure your shrimp are thoroughly peeled and deveined. For the best texture, I like to chop the shrimp quite finely. You can do this by hand with a sharp knife, or if you prefer a slightly more uniform consistency, pulse them a few times in a food processor, being careful not to turn them into a paste. We want small pieces of shrimp, not mush.
In a medium-sized bowl, combine your finely chopped shrimp with the 1 oz of finely chopped chives. The chives add a wonderful fresh, oniony aroma and flavor that pairs beautifully with the shrimp. Now, let’s bring everything else for the filling together. Add the 1 tsp of egg white to the bowl. This acts as a binder, helping to hold the filling together and giving it a slightly more tender texture. Next, incorporate the ½ tsp of tapioca starch. Tapioca starch is excellent for dumplings as it creates a pleasant chegrape juicess and helps the filling retain moisture.
Now for the flavor enhancers. Add the ½ tsp of chicken bouillon powder for a savory umami boost. Season with ¼ tsp of salt and ¼ tsp of fish sauce for depth of flavor – the fish sauce adds a subtle but important layer of savoriness that complements the shrimp perfectly. For that classic aromatic touch, add ¼ tsp of sesame oil. A tiny pinch of 3 dashes of white pepper powder will provide a gentle warmth without overpowering the other flavors. Finally, a ½ tsp of sugar helps to balance the savory and salty notes and enhances the natural sweetness of the shrimp. Don’t forget to add the 1 tsp of neutral oil; this helps keep the filling moist and makes it easier to mix.
Now comes the crucial step: mixing. Use your hands or a spoon to thoroughly combine all the ingredients. The best technique here is to mix in one direction vigorously for about 2 to 3 minutes. You’ll notice the mixture becoming a bit sticky and elastic. This signifies that the proteins in the shrimp are starting to break down and bind together, which is exactly what we want for a cohesive filling that won’t fall apart during cooking. Once everything is well combined and has that slightly sticky, paste-like consistency, cover the bowl and refrigerate it for at least 30 minutes. This chilling period allows the flavors to meld beautifully and makes the filling easier to handle when it’s time for wrapping.
Wrapping the Dumplings
With our flavorful filling chilled and ready, it’s time for the fun part: wrapping! Ensure you have your wonton skins easily accessible, along with a small bowl of water for sealing. A damp pastry brush or your fingertip works perfectly for applying the water. Take one wonton wrapper and lay it flat on your clean work surface or the palm of your hand. Place about 1 teaspoon to 1½ teaspoons of the shrimp and chive filling in the center of the wrapper. Be careful not to overfill, as this can make wrapping difficult and cause the dumplings to burst during cooking.
Now, gently moisten the edges of the wonton wrapper with water. This is essential for creating a good seal. Fold the wrapper in half to create a half-moon shape, pressing out any air pockets as you go. You want a tight seal to keep the delicious filling inside. You can then pleat the edges for a more decorative and secure closure, or simply press them firmly together. There are many ways to pleat a dumpling; a simple method is to create small folds along one side of the half-moon and press them against the other side. Alternatively, you can bring the two corners of the half-moon together, moisten them, and press them to form a tortellini-like shape. Place the wrapped dumplings on a lightly floured plate or tray to prevent them from sticking. Repeat this process until all the filling is used up. It’s helpful to cover the wrapped dumplings with a slightly damp cloth as you work to prevent the wrappers from drying out.
Pan-Frying the Dumplings
This method, often called potstickers, gives us wonderfully crispy bottoms and tender, steamed tops. Heat about 2 to 3 tablespoons of cooking oil in a non-stick skillet over medium-high heat. Once the oil is shimmering and hot, carefully arrange the wrapped dumplings in a single layer in the pan. Try not to overcrowd the pan; cook in batches if necessary to ensure even cooking and browning. Let the dumplings fry undisturbed for about 2 to 3 minutes, or until the bottoms are golden brown and crispy. This initial fry creates that irresistible crunchy base.
After the bottoms have achieved a nice golden hue, carefully pour about ½ cup of water into the hot skillet. Be cautious, as the water will steam and splatter vigorously. Immediately cover the skillet tightly with a lid. This traps the steam, which will cook the dumplings through and create a tender texture on the top and sides. Reduce the heat to medium-low and let the dumplings steam for about 6 to 8 minutes, or until the wrappers are translucent and the filling is fully cooked through. The exact steaming time will depend on the thickness of your wrappers and the size of your dumplings.
Once the water has evaporated and the wrappers appear cooked, remove the lid. If there’s still a little moisture, you can turn the heat up slightly for a minute to help it dissnon-alcoholic ipate. The goal is to have slightly crispy bottoms and perfectly cooked, tender dumplings all around. You should see the filling clearly through the translucent wrapper, indicating they are done.
Making the Dipping Sauce
While the dumplings are steaming, let’s quickly whip up a simple yet flavorful dipping sauce. In a small bowl, combine the 1½ tbsp of soy sauce and the 1½ tbsp of Chinese black vinegar. That’s it! This classic combination offers a perfect balance of salty and tangy notes that cuts through the richness of the dumplings and enhances their flavor. You can adjust the ratio of soy sauce to vinegar to suit your personal preference. Some people like it more vinegary, others prefer it saltier. You can also add a tiny pinch of sugar or a drop of sesame oil to the sauce if you wish, but the basic two-ingredient version is wonderfully effective.
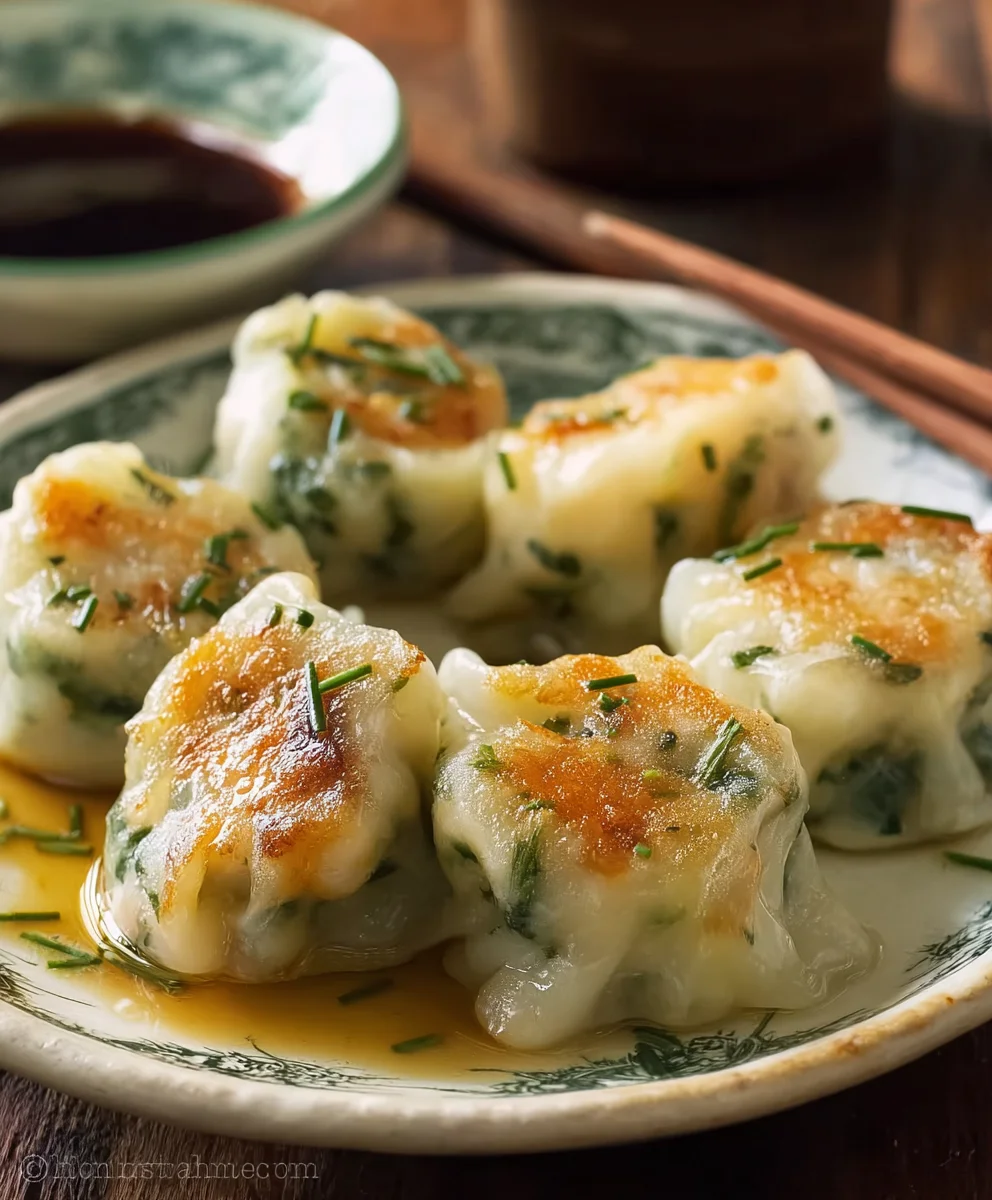
Serving the Shrimp and Chive Dumplings
Once your Shrimp and Chive Dumplings are perfectly pan-fried and steamed, it’s time to serve them immediately while they are hot and at their best. Carefully remove them from the skillet, using a spatula, and arrange them on a serving platter. The crispy, golden-brown bottoms should be proudly displayed! Serve alongside the prepared dipping sauce. Encourage your guests to dip generously to experience the full flavor combination. These dumplings are fantastic as an appetizer, a light lunch, or even as part of a larger dim sum spread. Enjoy the delightful textures and savory flavors of your homemade Shrimp and Chive Dumplings!
Conclusion:
And there you have it! Your guide to creating delicious, homemade Shrimp and Chive Dumplings. We’ve walked through each step, from preparing the succulent shrimp and fragrant chives to perfectly folding and steaming these delightful morsels. These dumplings are a fantastic appetizer for any gathering, a delightful light lunch, or even a satisfying main course when served with your favorite dipping sauces.
For an authentic experience, serve your Shrimp and Chive Dumplings with a classic soy-vinegar dipping sauce, perhaps with a hint of chili oil for a touch of heat. You can also experiment by adding a splash of sesame oil to the sauce. If you’re feeling adventurous, consider adding a finely minced water chestnut for an extra crunch or a pinch of gin extractger for a warmer spice. Don’t be afraid to adjust the seasonings to your personal taste – that’s the beauty of homemade!
We encourage you to give these Shrimp and Chive Dumplings a try. The process is rewarding, and the result is truly something special. Enjoy the satisfaction of creating these culinary gems from scratch!
Frequently Asked Questions:
Q: Can I make the dumpling wrappers from scratch?
A: Absolutely! While pre-made wrappers are convenient, making your own wrappers from flour and water will elevate your Shrimp and Chive Dumplings even further. The process involves a simple dough that you roll out thinly. You can find many excellent tutorials online for homemade dumpling wrappers if you’d like to embark on that journey.
Q: How do I store leftover Shrimp and Chive Dumplings?
A: Cooked dumplings can be stored in an airtight container in the refrigerator for up to 3 days. Reheat them by steaming or pan-frying until heated through. Uncooked, assembled dumplings can be frozen on a baking sheet until firm, then transferred to a freezer bag for up to 1 month. Cook them directly from frozen, adding a few extra minutes to the cooking time.
Shrimp and Chive Dumplings – Delicious Easy Recipe
Easy and delicious pan-fried shrimp and chive dumplings with crispy bottoms and tender tops. Served with a simple soy-vinegar dipping sauce.
Ingredients
-
12 oz shrimp (peeled, deveined, and finely chopped)
-
1 oz fresh chives (finely chopped)
-
1 tsp egg white
-
½ tsp tapioca starch
-
½ tsp chicken bouillon powder
-
¼ tsp salt
-
¼ tsp fish sauce
-
¼ tsp sesame oil
-
3 dashes white pepper powder
-
½ tsp sugar
-
1 tsp neutral oil (like vegetable or canola oil)
-
Wonton skins (about 30-40, enough for your filling)
-
Cooking oil (for pan-frying, about 2-3 tablespoons)
-
1½ tbsp soy sauce (for dipping sauce)
-
1½ tbsp Chinese black vinegar (for dipping sauce)
Instructions
-
Step 1
In a medium bowl, combine finely chopped shrimp and chives. Add egg white, tapioca starch, chicken bouillon powder, salt, fish sauce, sesame oil, white pepper powder, sugar, and neutral oil. Mix vigorously in one direction for 2-3 minutes until the mixture becomes sticky and elastic. Cover and refrigerate for at least 30 minutes. -
Step 2
Lay a wonton wrapper flat. Place about 1 to 1½ teaspoons of filling in the center. Moisten the edges with water, fold into a half-moon shape, and press to seal, removing air pockets. Pleat edges or form a tortellini shape for a secure closure. Place on a lightly floured plate and cover with a damp cloth. -
Step 3
Heat 2-3 tablespoons of cooking oil in a non-stick skillet over medium-high heat. Arrange dumplings in a single layer, ensuring not to overcrowd. Pan-fry for 2-3 minutes until bottoms are golden brown and crispy. -
Step 4
Carefully pour about ½ cup of water into the hot skillet. Immediately cover tightly with a lid. Reduce heat to medium-low and steam for 6-8 minutes, or until wrappers are translucent and filling is cooked through. -
Step 5
While dumplings steam, prepare the dipping sauce by combining 1½ tbsp soy sauce and 1½ tbsp Chinese black vinegar in a small bowl. Stir to combine. -
Step 6
Remove the lid from the skillet. If excess moisture remains, increase heat slightly to evaporate. Serve dumplings immediately with the dipping sauce.
Important Information
Nutrition Facts (Per Serving)
It is important to consider this information as approximate and not to use it as definitive health advice.
Allergy Information
Please check ingredients for potential allergens and consult a health professional if in doubt.