Refreshing Watermelon Cake Recipe- Sweet Summer Treat
Watermelon Cake isn’t just a dessert; it’s a vibrant celebration of summer’s sweetest bounty. Imagin extracte a showstopper that requires no baking and bursts with pure, refreshing flavor. That’s the magic of a truly spectacular Watermelon Cake. It’s the dessert that instantly transports you to sun-drenched picnics and lazy afternoons, a delightful departure from heavy, oven-baked alternatives. People adore this creation because it’s surprisingly healthy, incredibly beautiful, and a fantastic way to use up an abundance of ripe watermelon. What truly makes this Watermelon Cake special is its simplicity and its ability to surprise and delight every guest. It’s proof that you can achieve stunning results and incredible taste with just a few fresh ingredients and a dash of creativity. Get ready to fall in love with this unique and utterly delicious treat!
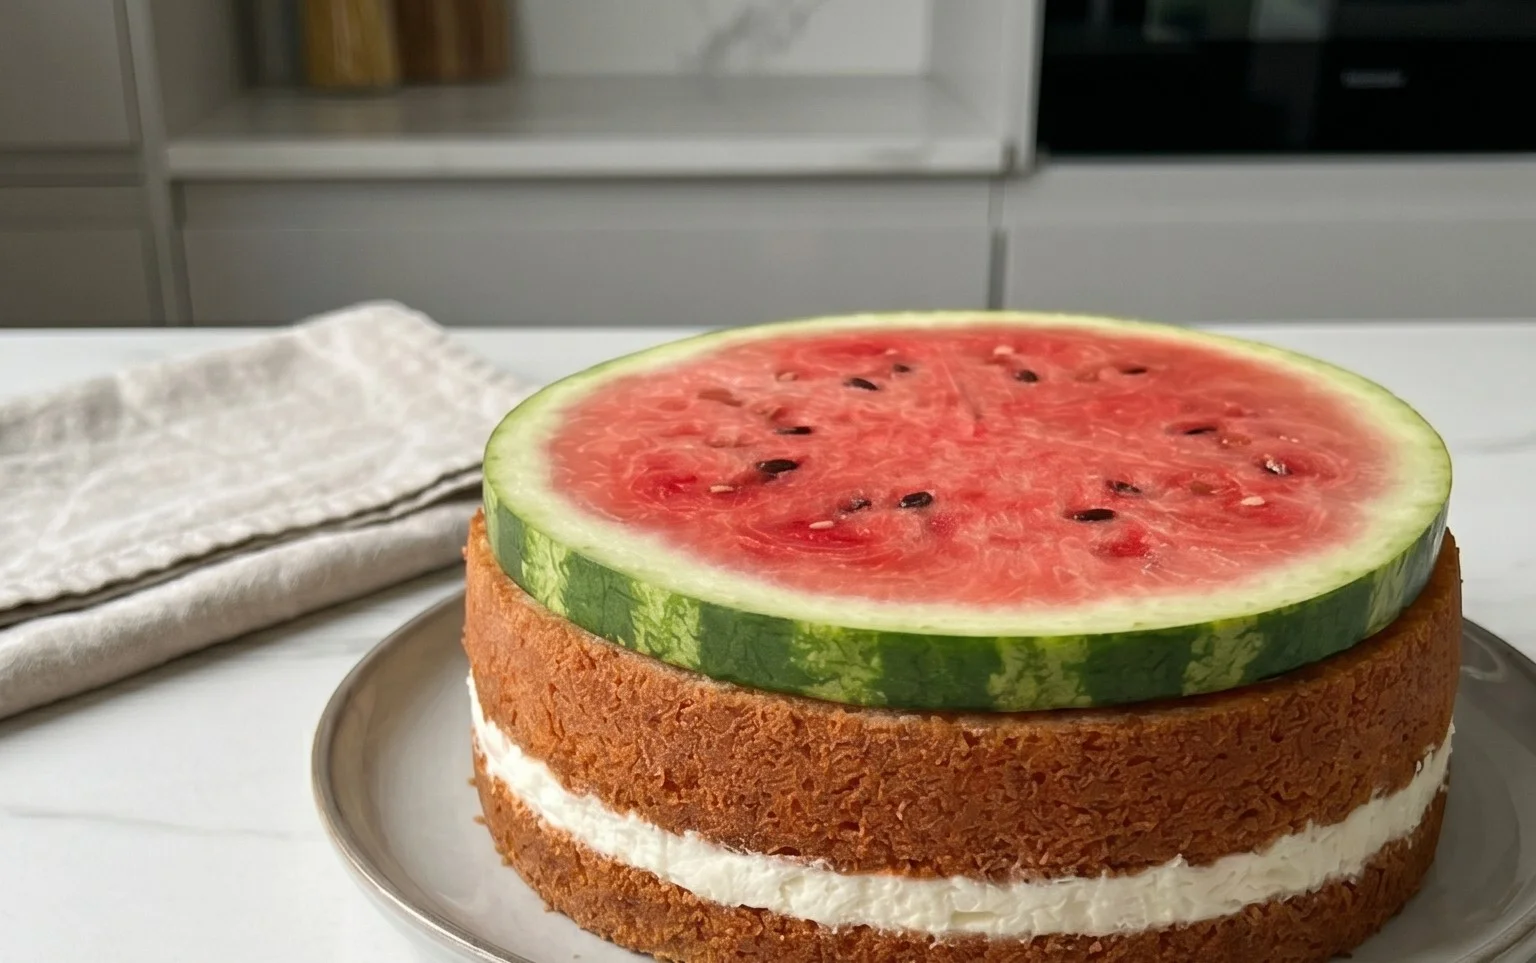
Watermelon Cake
Are you looking for a show-stopping, healthy, and incredibly refreshing dessert that will wow your guests and make you feel amazing about serving it? Look no further than this stunning Watermelon Cake! Forget heavy flour, sugar, and butter – this “cake” is pure, unadulterated fruit, sculpted and decorated to look like a classic tiered cake. It’s perfect for birthdays, summer parties, baby showers, or just when you crave something sweet and vibrant. It’s surprisingly simple to assemble, and the “wow” factor is off the charts. Get ready to impress with this naturally beautiful creation!
Ingredients:
Preparing Your Fruit Base
The foundation of our watermelon cake is, of course, the watermelon itself. We’ll be using two sizes to create a tiered effect, mimicking a traditional cake. The key is to select seedless watermelons for ease of preparation and a smoother “cake” surface. For the larger watermelon, we want a shape that resembles the base tier. For the smaller one, we’ll aim for a size that fits proportionally on top.
Step 1: Shaping the Watermelon Tiers
First, let’s prepare our large watermelon. Lay it on a sturdy cutting board. Using a large, sharp chef’s knife, carefully slice off the top and bottom ends of the watermelon to create flat surfaces. Then, stand the watermelon upright on one of the flat ends. Now, carefully slice away the rind, working your way down the sides. Aim to create a relatively uniform cylinder or a slightly rounded square shape, depending on your preference. Think about the silhouette of a cake tier. You want to remove all the green and white rind, leaving only the vibrant red flesh. Repeat this process with the smaller watermelon, aiming for a diameter that will fit nicely on top of the larger tier. Don’t worry if the shapes aren’t perfectly geometric; the fruit decorations will hide any imperfections.
Step 2: Securing the Tiers
Once your watermelon tiers are shaped, it’s time to think about stability. We want our cake to stand tall and proud! Gently place the smaller watermelon tier on top of the larger one. To secure them, you’ll use wood skewers. Insert several long wood skewers vertically through both watermelon tiers, ensuring they go deep enough into the bottom tier to provide good support. You can also carefully insert a few skewers horizontally from the sides of the larger tier into the smaller tier for extra reinforcement, making sure they are hidden from view. If you’re concerned about the tiers shifting, you can also use a few strategically placed wood toothpicks around the joining edge to help them adhere.
Decorating Your Watermelon Masterpiece
This is where the real fun begin extracts! We’ll use a vibrant assortment of berries and fresh mint to transform our watermelon “cake” into a stunning edible work of art. The contrast of colors and textures is what makes this dessert so visually appealing.
Step 3: Creating the “Frosting” Effect and Initial Decoration
Now that our watermelon tiers are assembled, it’s time to think about the “frosting.” While we aren’t using actual frosting, we can create a similar visual effect by pressing our berries onto the sides of the watermelon. Start by gently pressing the larger berries, like grapes (which can be halved or left whole depending on their size), onto the sides of the base tier. Use wood toothpicks to secure them in place, pushing the toothpick through the berry and into the watermelon flesh. This will give the illusion of a textured frosting. Work your way around the base tier, spacing the grapes evenly. You can also start to incorporate some of the larger berries like blackberries and blueberries, interspersing them with the grapes.
Step 4: Adding Detail and Color to the Tiers
Continue decorating the base tier and then move on to the top tier. For the top tier, you can use smaller berries like raspberries and blueberries to create a more delicate pattern. Consider creating stripes, swirls, or simply an all-over speckled effect. Don’t be afraid to mix and match colors! For example, you can create a border of raspberries around the top edge of the base tier, or scatter a few vibrant blueberries around the top tier. The goal is to cover as much of the watermelon surface as possible with fruit, creating a lush, natural decoration. You can use wood toothpicks to secure each berry, ensuring they are firmly attached to the watermelon. Some berries, like raspberries, might adhere quite well with just a gentle press, while others might benefit from a toothpick.
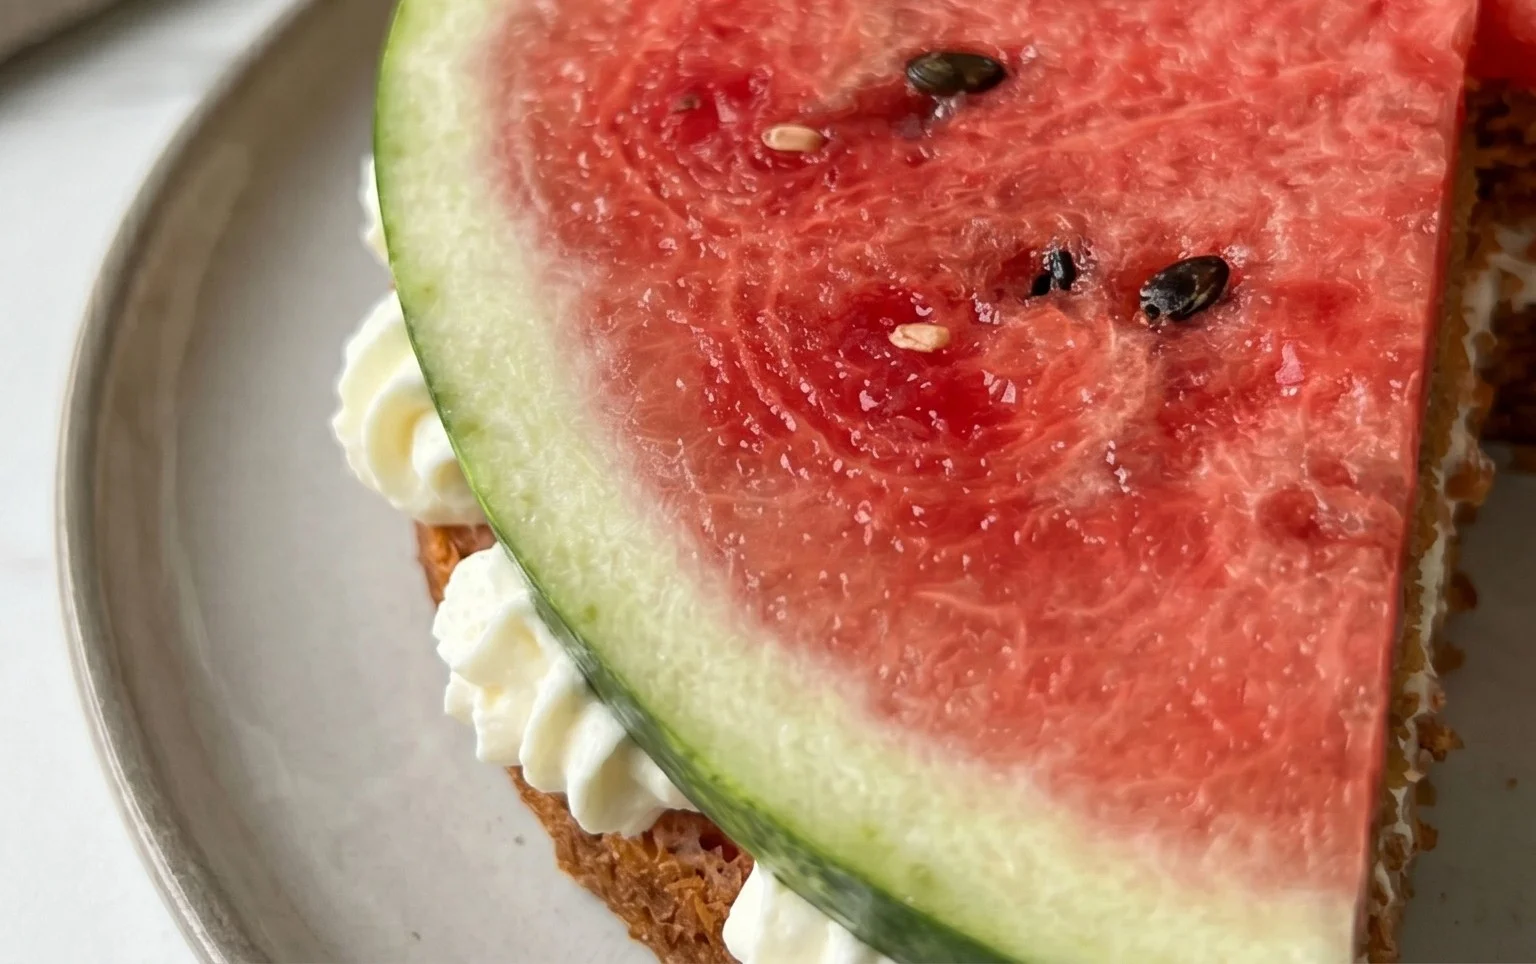
Step 5: The Finishing Touches and Presentation
The final touches are crucial for making your watermelon cake truly spectacular. This is where the fresh mint comes in. Carefully tuck sprigs of fresh mint around the base of the cake, between the tiers, and even on top to create a beautiful, aromatic garnish. The vibrant green of the mint will add another layer of color and a wonderful, refreshing aroma. You can also add a few more strategically placed berries on top of the smaller tier to create a focal point, perhaps a cluster of raspberries and blueberries. Once you’re happy with the arrangement, carefully transfer your watermelon cake to a serving platter. You might want to place it on a plate that has a slight lip to catch any excess juice. For an extra touch of elegance, consider serving it with small forks or spatulas for your guests to help themselves. This watermelon cake is not only a feast for the eyes but also incredibly delicious and hydrating. Enjoy!
Conclusion:
I hope you’re as excited about this delightful Watermelon Cake recipe as I am! This dessert truly shines because of its unique concept – a cake that looks like a watermelon but is actually a wonderfully moist and flavorful baked creation. It’s a fantastic showstopper for summer gatherings, birthdays, or just when you want something refreshingly different. The vibrant colors, both inside and out, are incredibly appealing, and the taste is a delightful balance of fruity and sweet. Don’t be intimidated by its appearance; it’s surprisingly straightforward to make!
When it comes to serving, this Watermelon Cake is best enjoyed chilled. It pairs beautifully with a dollop of fresh whipped cream, a scoop of vanilla bean ice cream, or even a simple drizzle of raspberry coulis. For variations, feel free to experiment with different extracts like almond or lime to complement the watermelon flavor. You could also add a touch of finely chopped mint to the batter for an extra burst of freshness. I truly encourage you to give this recipe a try; it’s guaranteed to be a conversation starter and a crowd-pleaser!
Frequently Asked Questions:
Q: Can I make this Watermelon Cake ahead of time?
Absolutely! You can bake and cool the cake layers a day in advance. Once fully cooled, wrap them tightly in plastic wrap and store them at room temperature or in the refrigerator. Frosting it the day you plan to serve it will ensure the decorations look their freshest.
Q: What if I don’t have a spherical cake pan?
No worries! You can adapt this recipe to a standard round cake pan. You might need to adjust the baking time slightly. Once baked and cooled, you can then carefully carve and shape the layers to resemble a watermelon. It will still be just as delicious!
Watermelon Cake
A refreshing and festive ‘cake’ made from watermelon and fresh berries, perfect for summer.
Ingredients
-
1 large Watermelon
-
1 small Watermelon
-
1 cup Grapes
-
1 cup Blueberries
-
1 cup Blackberries
-
1 cup Raspberries
-
Fresh Mint, for garnish
-
Wood Skewers
-
Wood Toothpicks
Instructions
-
Step 1
Prepare the base: Cut the large watermelon into a thick, round ‘cake’ layer. Trim the edges to create a smooth cylinder. Place on a serving platter. -
Step 2
Decorate the sides: Use wood skewers to secure the berries to the sides of the watermelon ‘cake’, creating a colorful mosaic. Alternate types of berries for visual appeal. -
Step 3
Create the ‘frosting’: Blend the small watermelon until smooth. This will act as a light, fruity ‘frosting’ drizzled over the top. -
Step 4
Add top decorations: Arrange additional berries and fresh mint leaves on top of the watermelon ‘cake’. Use toothpicks if needed to secure delicate berries. -
Step 5
Chill and serve: Refrigerate the watermelon cake for at least 15 minutes before serving to allow flavors to meld and the cake to firm up slightly.
Important Information
Nutrition Facts (Per Serving)
It is important to consider this information as approximate and not to use it as definitive health advice.
Allergy Information
Please check ingredients for potential allergens and consult a health professional if in doubt.