Easy Chicken Avocado Melt Sandwich Recipe
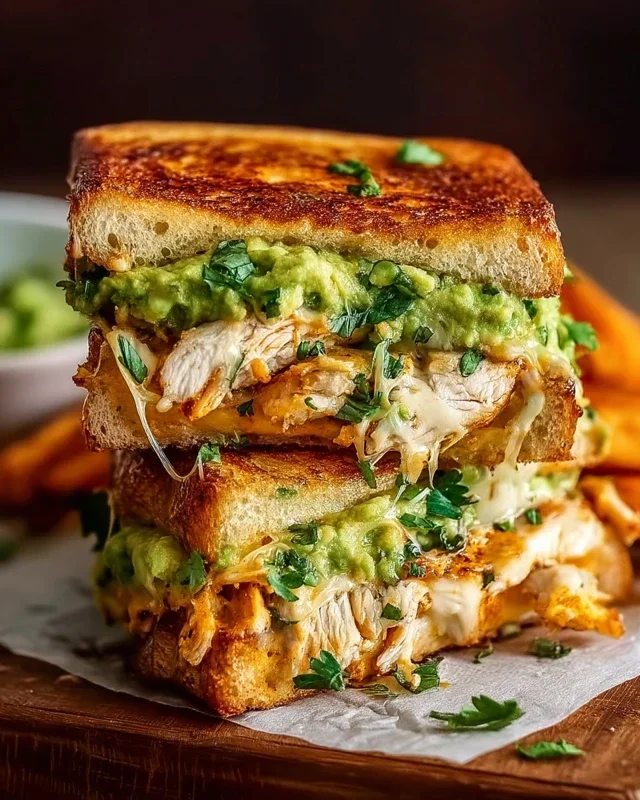
The Chicken Avocado Melt Sandwich is more than just a lunch; it’s a comforting hug in between two slices of bread. There’s a reason this classic combination has captured so many hearts and stomachs. It hits that perfect sweet spot of creamy, savory, and satisfying, making it an instant favorite for busy weeknights, lazy weekends, or when you just need a little culinary pick-me-up.
What makes the Chicken Avocado Melt Sandwich so irresistible?
It’s the harmonious marriage of tender, seasoned chicken, the rich, velvety smoothness of ripe avocado, and the glorious gooeyness of melted cheese, all grilled to golden perfection. This isn’t just about the ingredients; it’s about the experience. The way the cheese oozes, the avocado creates a luscious base, and the chicken provides that hearty substance creates a symphony of textures and flavors that is simply divine. Forget boring lunches; this Chicken Avocado Melt Sandwich is the upgrade you’ve been craving, and I can’t wait to share how easy it is to create this masterpiece in your own kitchen.
The Ultimate Chicken Avocado Melt Sandwich
There are some sandwiches that are just, well, transcendent. They hit all the right notes: creamy, savory, a little bit of tang, and that satisfying ooey-gooey cheese pull. The Chicken Avocado Melt is one of those culinary cbeef hampions. It’s more than just a quick lunch; it’s an experience. The combination of perfectly cooked chicken, rich avocado, sharp cheese, and a hint of Dijon mustard, all grilled to golden perfection, is simply divine. This recipe is my go-to when I’m craving something hearty and incredibly flavorful. It’s surprisingly simple to make, making it perfect for a weeknight dinner or a weekend treat. Let’s get started on creating this masterpiece!
Ingredients:
Preparing the Chicken
The first step to any great sandwich is fantastic filling. For our Chicken Avocado Melt, that means perfectly seasoned and cooked chicken.
Step 1: Season and Cook the Chicken
Start by patting your boneless, skinless chicken breasts dry with paper towels. This helps them to brown nicely. Season both sides generously with salt and pepper. Heat 1 tablespoon of olive oil in a skillet over medium-high heat. Once the oil is shimmering, carefully place the chicken breasts in the skillet. Cook for about 5-7 minutes per side, or until the chicken is cooked through and the internal temperature reaches 165°F (74°C). The exact cooking time will depend on the thickness of your chicken breasts, so it’s always best to check with a meat thermometer. Once cooked, remove the chicken from the skillet and let it rest on a cutting board for about 5-10 minutes. This resting period is crucial as it allows the juices to redistribute throughout the meat, ensuring your chicken is moist and tender, not dry and stringy. After resting, you can either shred the chicken with two forks or dice it into bite-sized pieces. I prefer to dice it for this sandwich as it distributes more evenly.
Assembling the Sandwich
Now that our star ingredient is ready, it’s time to bring all the other components together. The layering is key to a balanced and delicious melt.
Step 2: Prepare the Spread and Layer the Bread
While the chicken is resting, let’s prepare our flavorful spread. In a small bowl, combine the mayonnaise and Dijon mustard. Stir them together until well incorporated. This creamy, tangy sauce adds a wonderful depth of flavor to the sandwich. Now, take your bread slices. You can toast them lightly if you prefer a firmer base, but for a melt, I usually skip this step to allow the bread to soften slightly from the grilling. Spread a generous layer of the mayonnaise-mustard mixture on the inside of all four bread slices. This acts as our adhesive and flavor enhancer. On two of the bread slices (these will be our bottoms), begin extract layering your ingredients. Start with a layer of your chosen cheese. I like to put cheese down first to create a melty barrier and help bind the chicken.
Step 3: Add the Chicken and Veggies
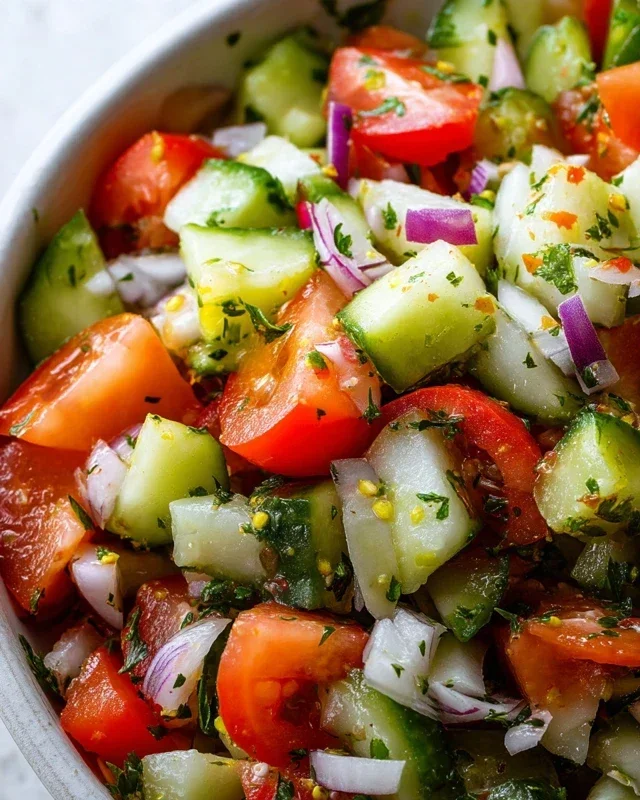
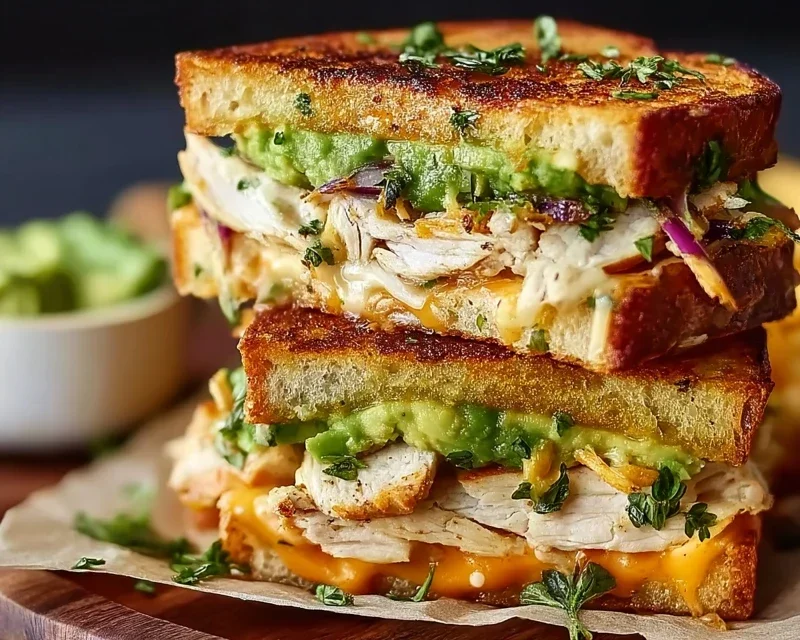
Next, evenly distribute the diced or shredded cooked chicken over the cheese on two of the bread slices. Don’t be shy with the chicken; we want a substantial filling! On top of the chicken, arrange the thin slices of red onion. The red onion provides a pleasant sharpness that cuts through the richness of the other ingredients. Then, carefully place the tomato slices over the red onion. Aim for an even layer so you get tomato in every bite. Finally, arrange the sliced avocado on top of the tomato. The avocado should be ripe and creamy, adding that signature richness and smooth texture.
Grilling for the Perfect Melt
This is where the magic happens! Grilling transforms a simple sandwich into an irresistible melt.
Step 4: Top and Grill the Sandwiches
Now, place the remaining two slices of bread, spread-side down, on top of the assembled sandwich halves. You should now have two fully assembled sandwiches, ready for grilling. To ensure a beautiful golden-brown crust and even cooking, we’ll use butter or olive oil. Heat a large skillet or griddle over medium heat. Add a good knob of butter or a drizzle of olive oil to the hot skillet. Once melted and shimmering, carefully place the sandwiches into the skillet. You might need to cook them in batches depending on the size of your skillet. Gently press down on the sandwiches with a spatula for even contact.
Step 5: Cook Until Golden and Melty
Cook the sandwiches for about 4-5 minutes per side, or until the bread is golden brown and toasted, and the cheese is completely melted and gooey. Keep an eye on the heat; you want the bread to brown nicely without burning. If the bread is browning too quickly, reduce the heat slightly. You can peek at the underside of the sandwich to check for browning. Once one side is perfectly golden and you can see the cheese starting to melt, carefully flip the sandwiches using a spatula. Cook the second side for another 4-5 minutes until it’s also golden brown and the cheese is wonderfully melted. You’ll know they’re ready when you see that glorious cheese oozing out the sides!
Serve your Chicken Avocado Melt immediately while it’s hot and the cheese is still delightfully melty. This sandwich is incredibly satisfying on its own, but it also pairs wonderfully with a side salad, some chips, or a cup of soup. Enjoy every delicious bite!
Conclusion:
There you have it – a simple yet incredibly satisfying Chicken Avocado Melt Sandwich recipe that’s perfect for any occasion! This recipe truly shines because of its delightful combination of creamy avocado, savory chicken, and perfectly melted cheese, all brought together between slices of toasted bread. It’s quick enough for a weeknight dinner but also impressive enough to serve to guests. I hope you’ll give this fantastic sandwich a try – it’s a winner in my book!
This chicken avocado melt is incredibly versatile. Serve it with a crisp green salad, a side of sweet potato fries, or even a cup of tomato soup for a comforting meal. For variations, consider adding a sprinkle of red pepper flakes for a little heat, some crispy beef bacon for extra indulgence, or a drizzle of balsamic glaze for a touch of tang. Don’t be afraid to experiment with different cheeses like pepper jack or provolone!
Frequently Asked Questions:
Can I use pre-cooked chicken for this recipe?
Absolutely! Using rotisserie chicken or leftover cooked chicken is a fantastic shortcut and makes this chicken avocado melt even quicker to prepare. Just shred or dice it up as you would with freshly cooked chicken.
What kind of bread works best?
While many breads work well, a sturdy bread like sourdough, whole wheat, or even a hearty country loaf holds up best to the fillings and gets wonderfully crispy when toasted. Avoid very soft or thin breads that might get soggy.
Is it okay to prepare the avocado mixture ahead of time?
It’s best to mash your avocado just before assembling the sandwich to prevent browning. However, you can have your cooked chicken ready and your cheese sliced in advance to speed up the process even further.
Chicken Avocado Melt Sandwich
A delicious and satisfying sandwich featuring grilled chicken, creamy avocado, melted cheese, and fresh vegetables.
Ingredients
-
2 boneless skinless chicken breasts
-
Salt and pepper to taste
-
1 tablespoon olive oil
-
1 avocado, sliced
-
4 slices your favorite cheese
-
4 slices bread
-
2 tablespoons mayonnaise
-
1 tablespoon Dijon mustard
-
1 small red onion, thinly sliced
-
1 tomato, sliced
-
Butter or olive oil for grilling
Instructions
-
Step 1
Season chicken breasts with salt and pepper. Heat 1 tablespoon of olive oil in a skillet over medium-high heat. Cook chicken until thoroughly cooked, about 6-8 minutes per side. Let rest and then slice. -
Step 2
In a small bowl, mix mayonnaise and Dijon mustard. -
Step 3
Spread the mayonnaise-mustard mixture on one side of each bread slice. -
Step 4
Layer the ingredients on two of the bread slices: cheese, sliced chicken, sliced avocado, red onion, and tomato. -
Step 5
Top with the remaining two bread slices, mayonnaise-side down. -
Step 6
Butter or oil the outside of each sandwich. Grill in a skillet over medium heat until golden brown and cheese is melted, about 3-5 minutes per side.
Important Information
Nutrition Facts (Per Serving)
It is important to consider this information as approximate and not to use it as definitive health advice.
Allergy Information
Please check ingredients for potential allergens and consult a health professional if in doubt.