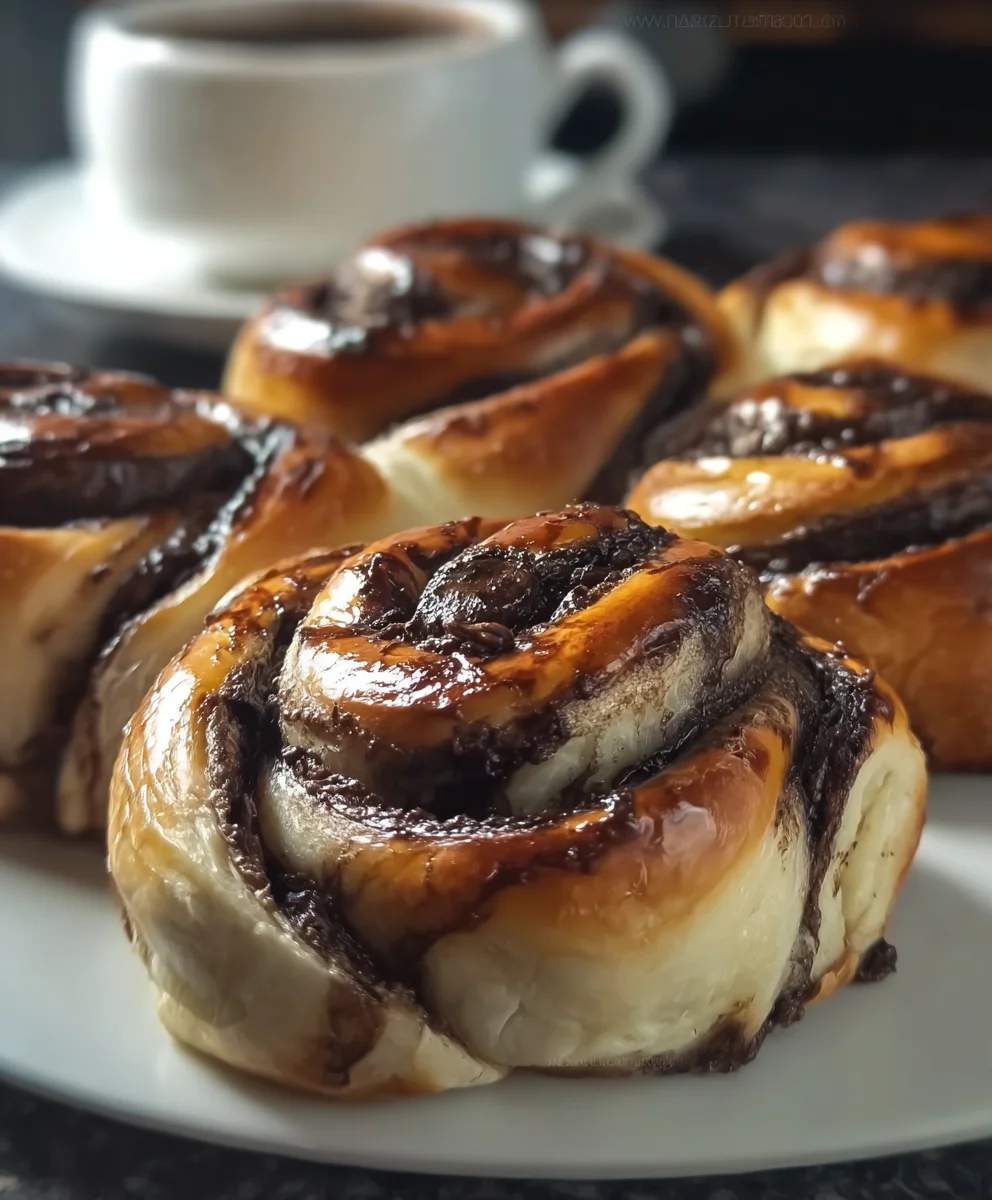
Soft Chocolate Cinnamon Rolls – Irresistible Treat
Soft Chocolate Cinnamon Rolls are more than just a treat; they’re an experience. Imagin extracte waking up to the non-intoxicating aroma of warm cinnamon and rich cocoa swirling through your kitchen, promising a decadent start to your day or a delightful afternoon indulgence. These aren’t your average cinnamon rolls; we’re talking about a cloud-like softness that melts in your mouth, perfectly balanced with a deep, comforting chocolatey swirl that satisfies every sweet craving. People adore these rolls because they strike that perfect chord between familiar comfort and elevated indulgence. What makes our version truly special is the carefully crafted dough that ensures an impossibly tender crum extractb and a frosting that’s both luscious and not overly sweet, letting the star flavors of chocolate and cinnamon truly shine. Get ready to discover your new favorite way to enjoySoft Chocolate Cinnamon Rolls!
Ingredients:
- ¾ cup warm milk (180 mL)
- 1 tbsp active dry yeast
- ⅓ cup granulated sugar (66g)
- 2 large eggs, at room temperature
- 1 tsp vanilla extract
- ½ cup unsalted butter, melted (100g)
- 3 cups all-purpose flour (360g), plus more for dusting
- Pinch of salt
- 200g good quality semi-sweet chocolate, melted (approximately 1 cup)
- ¼ cup unsalted butter, melted (50g)
- 1-2 tbsp ground cinnamon
- 1 tbsp unsweetened cocoa powder
- 1 tbsp granulated sugar
Making the Dough
Step 1: Activating the Yeast
In a large mixing bowl, combine the warm milk with the active dry yeast and the ⅓ cup of sugar. Stir gently to dissolve the sugar and yeast. The milk should be warm to the touch, like a comfortable bath, not hot, as excessive heat can kill the yeast. Let this mixture sit for about 5-10 minutes. You’ll know the yeast is active when it becomes foamy and bubbly on the surface – this is a good sign that your dough will rise beautifully.
Step 2: Incorporating Wet Ingredients and Flour
Once the yeast mixture is active, add the two large eggs and the vanilla extract to the bowl. Whisk everything together until well combined. Now, gradually add the ½ cup of melted butter. Once the wet ingredients are thoroughly mixed, begin extract adding the all-purpose flour, one cup at a time, along with the pinch of salt. Mix until a shaggy gin extractgh begins to form. At this stage, you can switch from a whisk or spoon to your hands or a stand mixer with a dough hook. Continue to add the flour until the dough is no longer excessively sticky and pulls away from the sides of the bowl. You might not need all three cups of flour, or you might need a tiny bit more, depending on the humidity in your kitchen. The dough should be soft and pliable.
Step 3: Kneading the Dough
Turn the dough out onto a lightly floured surface. Knead the dough for about 8-10 minutes. If you’re using your hands, push the dough away from you with the heels of your hands, then fold it back towards you, rotating it as you go. The goal is to develop the gluten, which gives the dough its structure and elasticity, resulting in those wonderfully soft rolls. The dough should become smooth and elastic. If using a stand mixer, knead on medium-low speed for about 6-8 minutes. The dough should be smooth and elastic, not sticky.
Step 4: First Rise (Proofing)
Lightly grease a clean bowl with a little oil or non-stick spray. Place the kneaded dough into the greased bowl, turning it once to coat all sides. Cover the bowl tightly with plastic wrap or a clean kitchen towel. Let the dough rise in a warm place for 1 to 1.5 hours, or until it has doubled in size. A slightly warm oven that has been turned off (but still retains a little residual warmth) is an ideal place for proofing.
Assembling and Baking the Soft Chocolate Cinnamon Rolls
Step 5: Preparing the Filling and Rolling the Dough
Once the dough has doubled in size, gently punch it down to release the air. Turn the dough out onto a lightly floured surface. Roll the dough into a rectangle, approximately 12×16 inches. Aim for an even thickness across the entire rectangle. In a small bowl, combine the 1-2 tablespoons of cinnamon, the tablespoon of cocoa powder, and the tablespoon of sugar. Evenly spread the ¼ cup of melted butter over the surface of the dough rectangle, leaving a small border along one of the long edges. Sprinkle the cinnamon-sugar-cocoa mixture evenly over the buttered surface. Now, starting from the long edge opposite the one you left clear, tightly roll up the dough. Try to keep the roll as uniform as possible to ensure even baking and cutting. Pinch the seam to seal it.
Step 6: Cutting and Second Rise
Using a sharp knife or dental floss (which often gives cleaner cuts), cut the log into 12 equal pieces, about 1.5 inches thick. To use dental floss, slide it under the log, cross the ends over the top, and pull them tight to slice through the dough. Arrange the cut rolls cut-side up in a greased 9×13 inch baking dish, leaving a little space between them as they will expand. Cover the baking dish loosely with plastic wrap or a kitchen towel and let the rolls rise again in a warm place for another 30-45 minutes, or until they are puffy and have nearly doubled in size again. This second rise is crucial for achieving that signature soft and airy texture.
Step 7: Baking the Rolls
Preheat your oven to 350°F (175°C). Once the rolls have completed their second rise, place the baking dish in the preheated oven. Bake for 20-25 minutes, or until the tops are golden brown and the centers are cooked through. You can check for doneness by inserting a toothpick into the center of a roll; it should come out clean. Be careful not to overbake, as this can result in dry rolls.
Step 8: The Chocolate Glaze
While the rolls are baking, prepare the decadent chocolate glaze. In a heatproof bowl set over a saucepan of simmering water (a double boiler), melt the 200g of chocolate. Stir frequently until it’s completely smooth and glossy. Alternatively, you can melt the chocolate in the microwave in 30-second intervals, stirring between each, until melted and smooth.
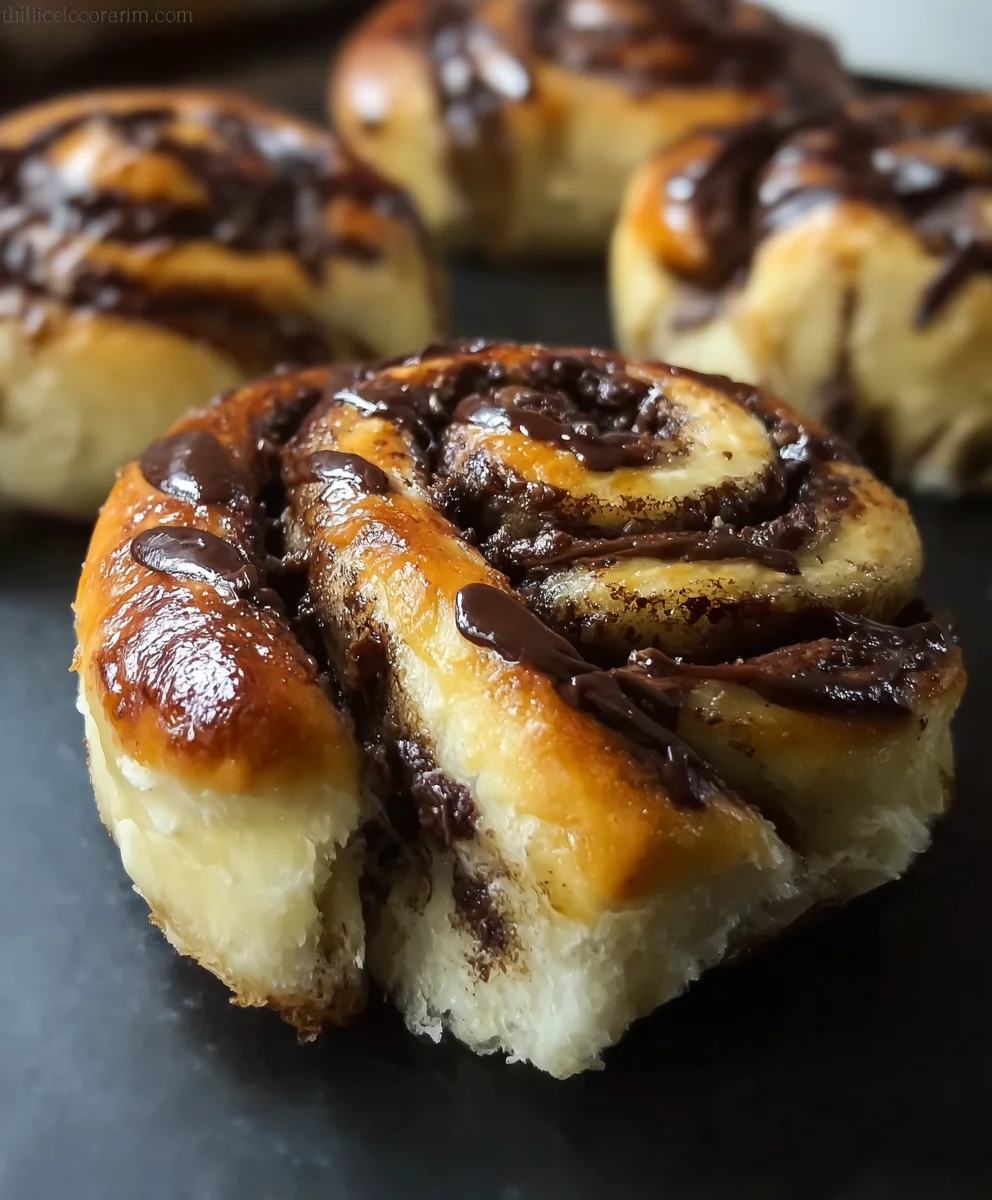
Step 9: Glazing and Serving
Once the cinnamon rolls are out of the oven, let them cool in the baking dish for about 10-15 minutes. This allows them to set slightly. While still warm, generously drizzle or spread the melted chocolate glaze over the tops of the rolls. The warmth of the rolls will help the chocolate spread beautifully. Serve immediately for the ultimate gooey, chocolatey experience. These soft chocolate cinnamon rolls are best enjoyed warm, but leftovers can be stored in an airtight container at room temperature for a day or two.
Conclusion:
There you have it – the ultimate guide to creating incredibly Soft Chocolate Cinnamon Rolls! We’ve walked through each step, from preparing the pillowy dough to achieving that perfect swirl of rich chocolate and warm cinnamon. These rolls are a delightful indulgence, perfect for a special weekend brunch, a comforting afternoon treat, or simply whenever you need a little sweet escape. Don’t be intimidated by the process; the results are absolutely worth every bit of effort. For serving, I love them warm, fresh from the oven, with a drizzle of chocolate ganache or a simple cream cheese frosting. They also pair wonderfully with a hot cup of coffee or a glass of cold milk.
Feel free to get creative with variations! You could add a pinch of chili powder to the chocolate filling for a subtle kick, or incorporate chopped nuts like walnuts or pecans. For an extra layer of flavor, try adding a touch of espresso powder to the dough. I truly hope you enjoy making and devouring these Soft Chocolate Cinnamon Rolls. Happy baking!
Frequently Asked Questions:
Q1: How can I ensure my Soft Chocolate Cinnamon Rolls are extra soft?
To guarantee maximum softness, be sure not to over-knead the dough, as this can make them tough. Also, avoid over-baking them. They should be lightly golden brown on the edges but still appear slightly underdone in the center. They will continue to cook slightly as they cool.
Q2: Can I make the dough for Soft Chocolate Cinnamon Rolls ahead of time?
Yes, absolutely! You can prepare the dough, let it rise, and then refrigerate it overnight. Punch it down gently before proceeding with the filling and shaping. This makes them perfect for a leisurely morning.
Soft Chocolate Cinnamon Rolls – Irresistible Treat
Deliciously soft and gooey chocolate cinnamon rolls with a rich chocolate glaze.
Ingredients
-
¾ cup warm milk (180 mL)
-
1 tbsp active dry yeast
-
⅓ cup granulated sugar (66g)
-
2 large eggs, at room temperature
-
1 tsp vanilla extract
-
½ cup unsalted butter, melted (100g)
-
3 cups all-purpose flour (360g), plus more for dusting
-
Pinch of salt
-
200g good quality semi-sweet chocolate, melted (approximately 1 cup)
-
¼ cup unsalted butter, melted (50g)
-
1-2 tbsp ground cinnamon
-
1 tbsp unsweetened cocoa powder
-
1 tbsp granulated sugar
Instructions
-
Step 1
Activate the yeast by combining warm milk, active dry yeast, and ⅓ cup sugar in a large bowl. Let sit for 5-10 minutes until foamy. -
Step 2
Add eggs and vanilla extract to the yeast mixture. Whisk together, then gradually add ½ cup melted butter. Slowly incorporate all-purpose flour and salt until a shaggy dough forms. Knead until smooth and elastic, about 8-10 minutes. -
Step 3
Place dough in a lightly greased bowl, cover, and let rise in a warm place for 1 to 1.5 hours, or until doubled in size. -
Step 4
Punch down dough, roll into a 12×16 inch rectangle. Spread ¼ cup melted butter over the surface, leaving a border. Sprinkle with a mixture of cinnamon, cocoa powder, and 1 tbsp sugar. Tightly roll up from a long edge and pinch to seal. -
Step 5
Cut the log into 12 equal pieces. Arrange cut-side up in a greased 9×13 inch baking dish. Cover and let rise again for 30-45 minutes until puffy. -
Step 6
Preheat oven to 350°F (175°C). Bake rolls for 20-25 minutes until golden brown and cooked through. -
Step 7
Melt 200g chocolate using a double boiler or microwave for the glaze. -
Step 8
Let rolls cool slightly in the dish for 10-15 minutes, then drizzle or spread the melted chocolate glaze over the warm rolls. Serve immediately.
Important Information
Nutrition Facts (Per Serving)
It is important to consider this information as approximate and not to use it as definitive health advice.
Allergy Information
Please check ingredients for potential allergens and consult a health professional if in doubt.