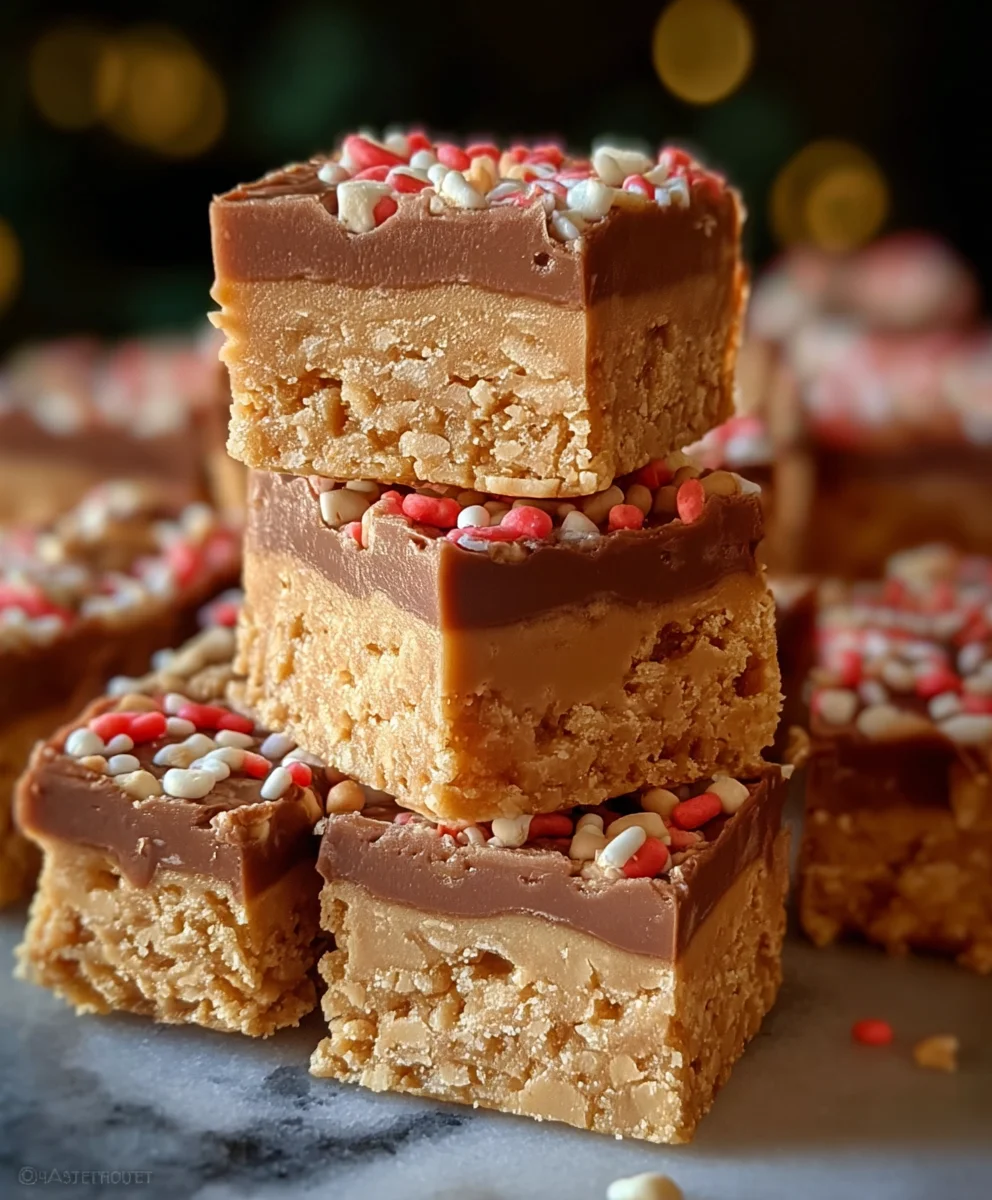
Easy Peanut Butter Squares – Delicious No-Bake Treat
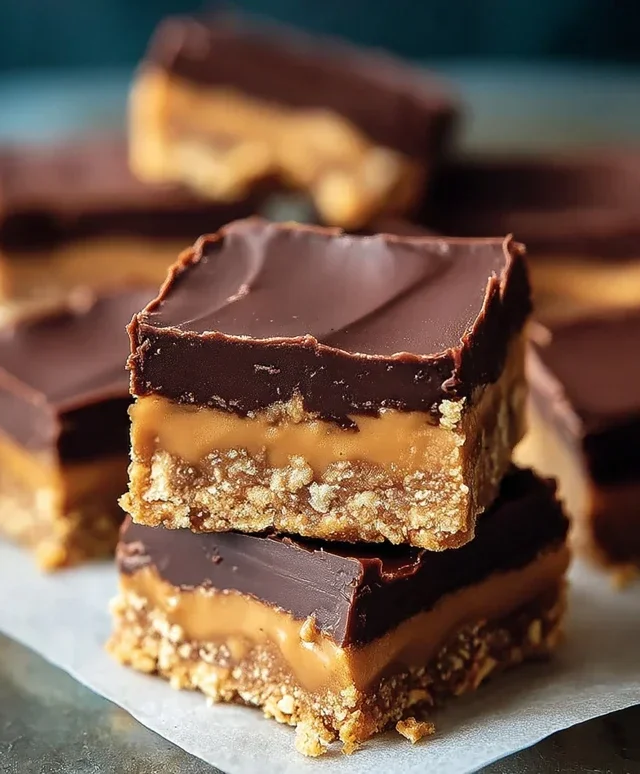
Peanut Butter Squares are a nostalgic delight, a simple yet utterly satisfying treat that evokes childhood memories for so many. There’s something universally comforting about the rich, creamy sweetness of peanut butter baked into a perfectly chewy, slightly crisp bar. We love them because they’re incredibly easy to make, requiring no fancy techniques or obscure ingredients, yet deliver a punch of flavor that rivals any store-bought confection. What truly makes these Peanut Butter Squares special is their delightful texture contrast – a tender, yielding center crowned with a glossy, often chocolatey topping that hardens just enough to provide that satisfying snap. They are the ultimate no-fuss dessert for potlucks, school lunches, or simply when that sweet craving strikes. Get ready to rediscover the simple joy of these classic Peanut Butter Squares!
Ingredients:
- 6 cups Rice Krispies cereal
- 1 cup light corn syrup
- 1/2 cup granulated sugar
- 1 cup smooth peanut butter
- 1 teaspoon vanilla extract
- 1 1/2 cups milk chocolate chips
- 1/2 cup smooth peanut butter (for topping)
- 1/4 cup holiday sprinkles
- 1/4 cup chopped salted peanuts (optional)
Preparing the Peanut Butter Squares Base
This is where the magic begin extracts to create those wonderfully chewy and satisfying Peanut Butter Squares. The first step is to ensure you have a sufficiently sized pan ready to go. A 9×13 inch baking pan is ideal. To prevent any sticking and ensure easy removal later, I highly recommend lining it with parchment paper, leaving some overhang on the sides. This overhang acts as handles, making it a breeze to lift the entire slab of squares out of the pan once it’s set. You can also lightly grease the pan before lining it with parchment for extra insurance.
In a large saucepan, we’re going to combine the liquid ingredients that will bind our cereal together. Over medium heat, pour in the 1 cup of light corn syrup and add the 1/2 cup of granulated sugar. It’s important to stir these constantly as they heat up. We want the sugar to completely dissolve into the corn syrup, creating a smooth, syrupy base. Be patient here; rushing this step can lead to grainy textures. Continue stirring until the mixture is clear and no sugar granules are visible at the bottom of the pan. This usually takes about 5-7 minutes. Once the sugar is dissolved, remove the saucepan from the heat.
Now comes the crucial ingredient that gives these squares their name and their irresistible flavor: peanut butter! Add the 1 cup of smooth peanut butter to the hot corn syrup and sugar mixture. Stir vigorously until the peanut butter is completely melted and incorporated into the syrup. It will look glossy and creamy. Following that, stir in the 1 teaspoon of vanilla extract. The vanilla adds a lovely aromatic depth that complements the peanut butter beautifully. Make sure everything is well combined before proceeding to the next stage.
Combining and Pressing the Squares
Once your peanut butter syrup mixture is smooth and homogenous, it’s time to introduce the star cereal. In a very large bowl, add your 6 cups of Rice Krispies cereal. It’s best to use a bowl large enough to comfortably hold all the cereal and allow for easy mixing without spilling. Gradually pour the hot peanut butter mixture over the Rice Krispies cereal. Using a sturdy spatula or a wooden spoon, gently fold the cereal into the mixture. The goal is to coat every single crispy piece with the peanut butter syrup without crushing the cereal too much. Work quickly but carefully; the mixture will start to cool and become harder to work with as it does. Ensure all the cereal is thoroughly coated.
Now, transfer the mixture into your prepared 9×13 inch baking pan. The mixture will be sticky, so using a spatula greased lightly with butter or cooking spray can help immensely in spreading it evenly. Press the Rice Krispies mixture firmly and evenly into the pan. This step is vital for ensuring your Peanut Butter Squares hold their shape. You can use the back of your greased spatula, or even a piece of parchment paper placed on top of the mixture and pressed down with your hands, to get a nice, compact layer. The tighter you press, the less likely they are to crum extractble when cut. Take your time to make the top as flat and even as possible.
Creating the Irresistible Chocolate Topping
While the base is setting slightly, let’s prepare the delightful chocolate topping. In a heatproof bowl set over a saucepan of simmering water (a double boiler), add the 1 1/2 cups of milk chocolate chips and the 1/2 cup of smooth peanut butter for the topping. Stir occasionally, making sure the chocolate and peanut butter melt together slowly and smoothly. The residual heat from the simmering water will gently melt them without scorching. Alternatively, you can melt them in the microwave in short bursts (30 seconds), stirring between each burst, until smooth. Be cautious not to overheat the chocolate, as it can become stiff.
Once the chocolate and peanut butter topping is completely melted and smooth, remove the bowl from the heat. Give it a final stir to ensure it’s completely homogenous. Now, pour this luscious chocolate mixture over the pressed Rice Krispies base in the pan. Use your spatula to spread it evenly across the entire surface, right to the edges. Make sure you have a nice, consistent layer of chocolate for that classic Peanut Butter Squares experience.
Adding the Finishing Touches and Setting
While the chocolate topping is still slightly wet but not completely liquid, it’s time for the fun decorative elements. Generously sprinkle the 1/4 cup of holiday sprinkles over the chocolate layer. These add a festive touch and a delightful crunch. If you’re using them, scatter the 1/4 cup of chopped salted peanuts over the top as well. The saltiness of the peanuts offers a wonderful contrast to the sweet chocolate and peanut butter, enhancing the overall flavor profile. Press them down gently into the chocolate so they adhere well.
Now comes the waiting game. You need to let the Peanut Butter Squares set completely. Place the pan in the refrigerator for at least 1-2 hours, or until the chocolate topping is firm and solidified. Rushing this step will result in messy, soft squares. Once fully set, you can lift the entire slab out of the pan using the parchment paper overhang. Place it on a cutting board and, using a sharp knife, cut the slab into squares or rectangles. For cleaner cuts, you can dip your knife in hot water and wipe it dry between cuts. Enjoy your homemade Peanut Butter Squares!
Conclusion:
There you have it – a straightforward and incredibly satisfying recipe for Peanut Butter Squares! We hope you enjoyed following along and are excited to whip up a batch of these delightful treats. These Peanut Butter Squares are perfect for a quick snack, an afternoon pick-me-up, or even as a simple dessert. They boast a fantastic balance of sweet and salty, with that unmistakable rich peanut butter flavor that’s simply irresistible. Remember, the beauty of this recipe lies in its simplicity, making it accessible for bakers of all levels.
For serving suggestions, consider enjoying them on their own, perhaps with a cold glass of milk. They also pair wonderfully with a cup of coffee or tea. If you’re looking to elevate them further, a dusting of powdered sugar or a drizzle of melted chocolate can add an extra touch of elegance. Don’t be afraid to experiment with variations! You could fold in some mini chocolate chips, chopped nuts, or even a sprinkle of sea salt for an added flavor dimension. The possibilities are truly endless.
We encourage you to try this recipe and make it your own. Share them with friends and family, or keep them all to yourself – we won’t judge! Baking should be a joyful experience, and we’re confident that these Peanut Butter Squares will bring smiles all around.
Frequently Asked Questions:
Can I make these Peanut Butter Squares ahead of time?
Absolutely! These Peanut Butter Squares are fantastic for making ahead. In fact, their flavor often melds and deepens overnight. Store them in an airtight container at room temperature for up to 3-4 days, or in the refrigerator for an even longer shelf life.
What kind of peanut butter should I use?
For the best results and texture in these Peanut Butter Squares, we recommend using creamy, commercial peanut butter (like Jif or Skippy). Natural peanut butters can sometimes separate, which might affect the consistency of your squares. If you do use natural peanut butter, ensure it’s well-stirred before measuring.
How do I prevent the bottom of the Peanut Butter Squares from sticking?
To prevent sticking when making your Peanut Butter Squares, it’s crucial to properly grease and flour your baking pan. You can also line the pan with parchment paper, leaving an overhang on the sides. This allows you to easily lift the entire slab out of the pan once cooled, making cutting much cleaner and easier.
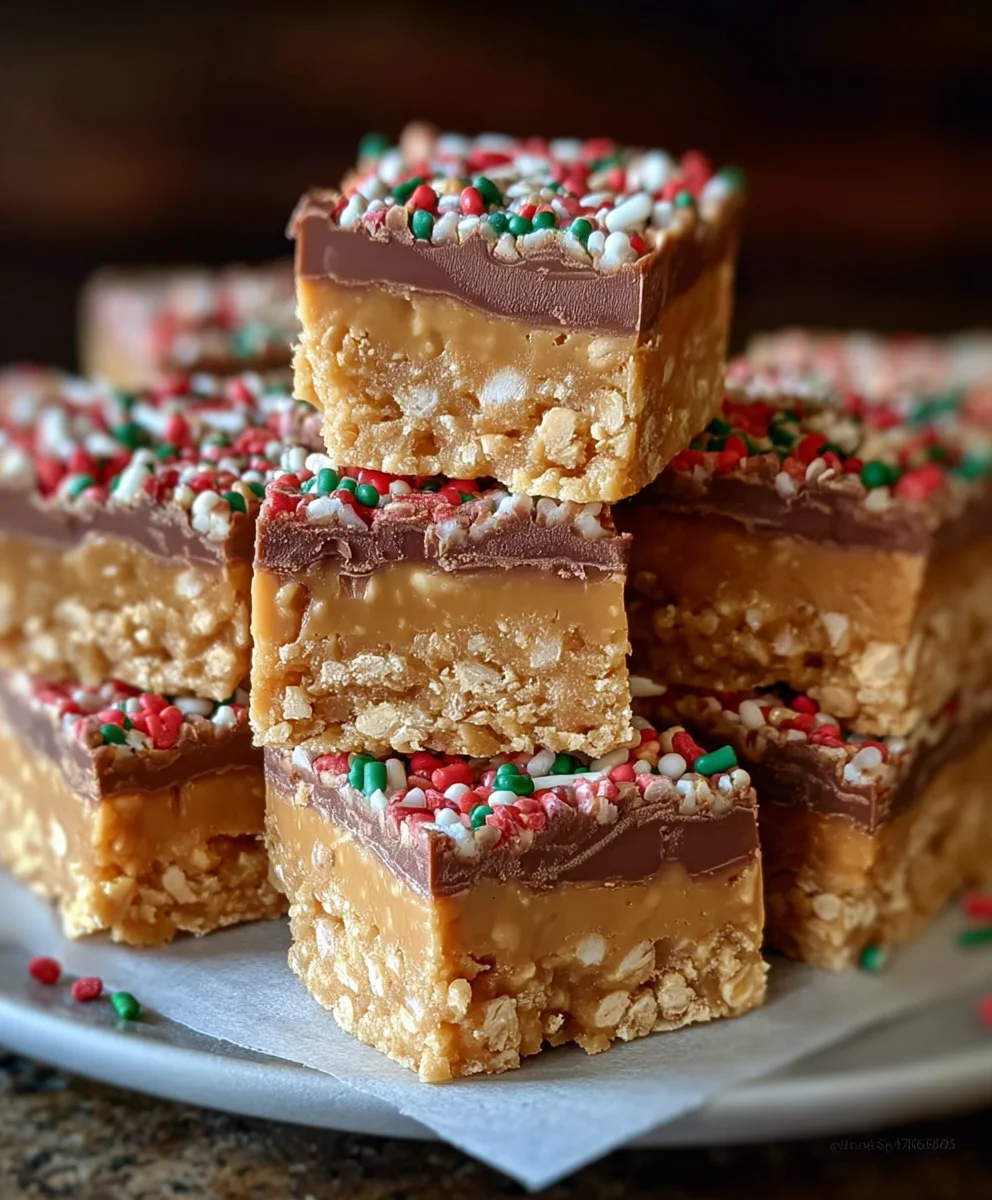
Easy Peanut Butter Squares – Delicious No-Bake Treat
A quick and easy no-bake treat featuring a chewy Rice Krispies base topped with creamy peanut butter chocolate.
Ingredients
-
6 cups Rice Krispies cereal
-
1 cup light corn syrup
-
1/2 cup granulated sugar
-
1 cup smooth peanut butter
-
1 teaspoon vanilla extract
-
1 1/2 cups milk chocolate chips
-
1/2 cup smooth peanut butter (for topping)
-
1/4 cup holiday sprinkles
-
1/4 cup chopped salted peanuts (optional)
Instructions
-
Step 1
Prepare a 9×13 inch baking pan by lining it with parchment paper, leaving an overhang. Lightly grease the pan before lining for extra insurance. -
Step 2
In a large saucepan over medium heat, combine and stir 1 cup of light corn syrup and 1/2 cup of granulated sugar until the sugar is completely dissolved and the mixture is clear, about 5-7 minutes. -
Step 3
Remove the saucepan from heat and stir in 1 cup of smooth peanut butter until melted and incorporated, followed by 1 teaspoon of vanilla extract. Stir until well combined. -
Step 4
In a very large bowl, add 6 cups of Rice Krispies cereal. Gradually pour the hot peanut butter mixture over the cereal and gently fold to coat every piece without crushing the cereal. Work quickly. -
Step 5
Transfer the mixture into the prepared baking pan and press firmly and evenly to create a compact layer. Use a greased spatula or parchment paper to help. -
Step 6
Melt 1 1/2 cups of milk chocolate chips and 1/2 cup of smooth peanut butter together in a heatproof bowl over simmering water or in the microwave, stirring until smooth. Do not overheat. -
Step 7
Pour the melted chocolate mixture over the Rice Krispies base and spread evenly to the edges. -
Step 8
While the topping is still wet, sprinkle with 1/4 cup of holiday sprinkles and 1/4 cup of chopped salted peanuts (if using). Gently press them into the chocolate. -
Step 9
Refrigerate the pan for at least 1-2 hours, or until the topping is firm. Once set, lift the slab out using the parchment paper overhang, cut into squares, and enjoy.
Important Information
Nutrition Facts (Per Serving)
It is important to consider this information as approximate and not to use it as definitive health advice.
Allergy Information
Please check ingredients for potential allergens and consult a health professional if in doubt.