Lemon Thumbprint Cookies-Easy Tart Sweet Treat
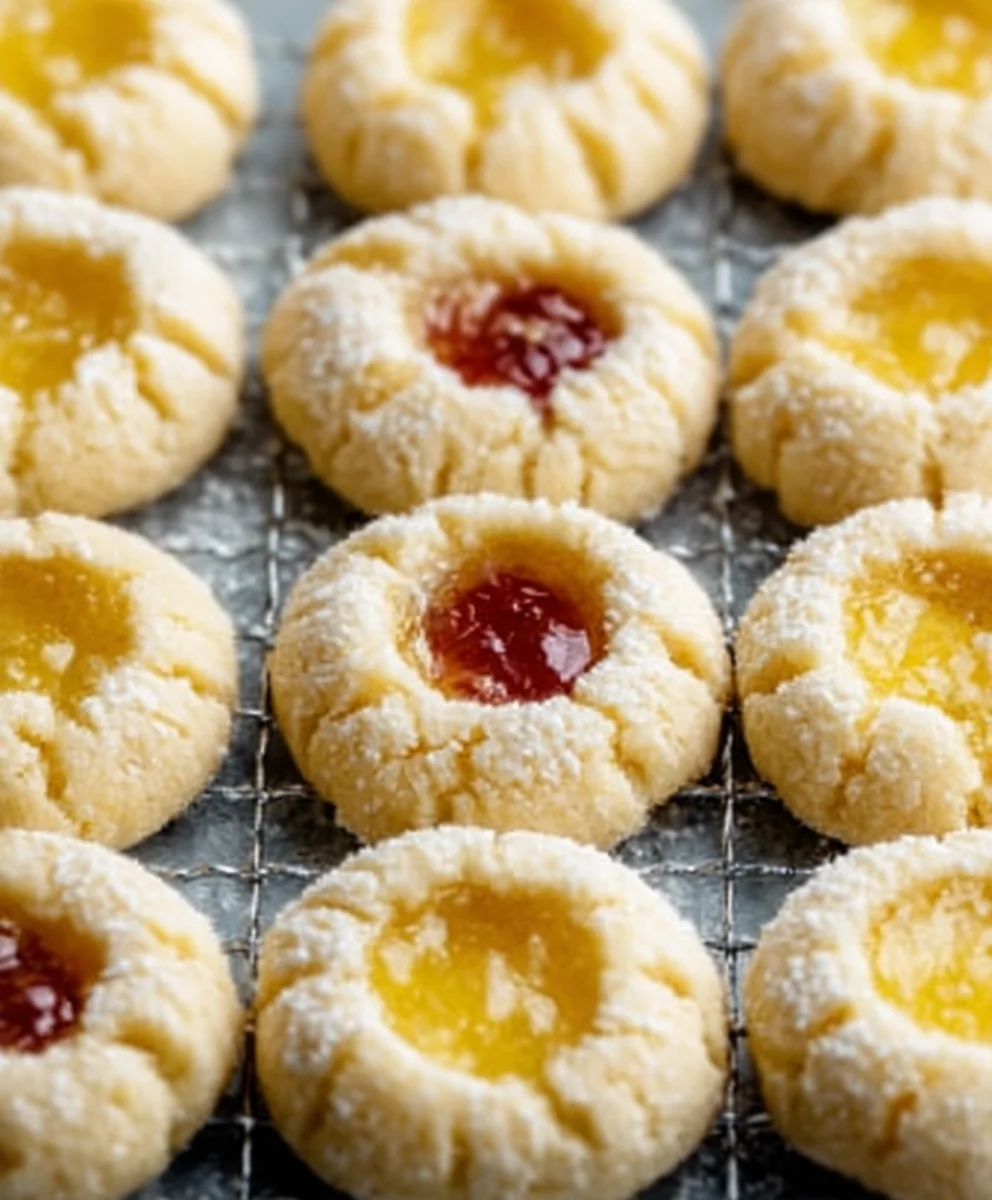
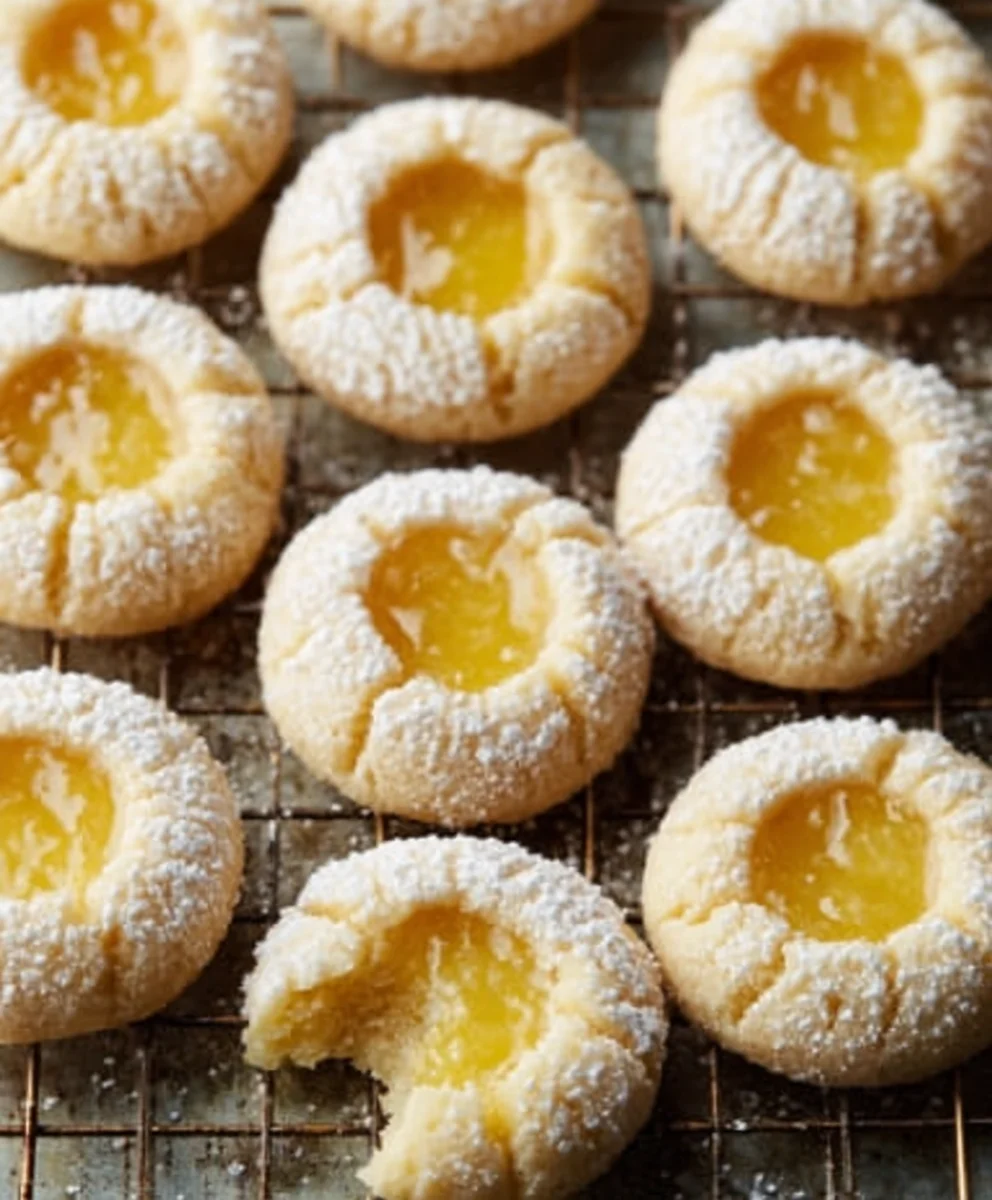
Lemon Thumbprints are more than just cookies; they’re a sunshine-filled burst of joy in every bite. Imagin extracte the delicate, buttery crum extractble of a perfectly baked cookie yielding to a sweet, tart lemon filling that dances on your tongue. It’s no wonder these delightful treats have captured the hearts (and taste buds) of so many! Their charm lies in their elegant simplicity and the delightful surprise hidden within their sweet embrace. What truly sets these Lemon Thumbprints apart is the beautiful contrast between the tender, almost shortbread-like cookie base and the vibrant, zesty lemon curd that nestles snugly in the center. They evoke memories of bright summer days and are utterly irresistible, making them the perfect addition to any cookie platter, afternoon tea, or simply when you need a little ray of sunshine to brighten your day. Get ready to bake your own batch of pure happiness!
Ingredients:
- 2 and 1/4 cups (281g) all-purpose flour, spooned and leveled
- 1 Tablespoon (8g) cornstarch
- 1/4 teaspoon salt
- 14 Tablespoons (200g) unsalted butter, softened to room temperature (see Note)
- 3/4 cup (150g) granulated sugar
- 1 Tablespoon fresh lemon zest (from about 1 large lemon)
- 1 Tablespoon fresh lemon juice
- 1 large egg, at room temperature
- 1 teaspoon vanilla bean paste (or 1 teaspoon pure vanilla extract)
- 1/2 cup (100g) granulated sugar (for rolling the dough)
- 1/2 cup (140g) homemade lemon curd or your favorite store-bought lemon curd
- 1 cup (120g) confectioners’ sugar (also known as powdered sugar or icing sugar)
- 2 Tablespoons (30ml) fresh lemon juice (for the glaze)
Making the Lemon Thumbprint Cookie Dough
Step 1: Prepare the Dry Ingredients
First things first, let’s get our dry ingredients ready. In a medium-sized bowl, whisk together the all-purpose flour, cornstarch, and salt. Whisking them well helps to distribute the cornstarch and salt evenly throughout the flour, which is key for a consistent texture in our cookies. Set this bowl aside for now.
Step 2: Cream the Butter and Sugar
In a large bowl, using an electric mixer (a stand mixer with the paddle attachment or a hand mixer), cream together the softened unsalted butter and 3/4 cup of granulated sugar. It’s crucial that your butter is truly softened to room temperature – not melted, but yielding to gentle pressure. This will allow it to incorporate air and create a light, fluffy texture. Beat them together until the mixture is pnon-alcoholic ale and creamy, which usually takes about 3 to 4 minutes. Scrape down the sides of the bowl as needed to ensure everything is evenly mixed.
Step 3: Incorporate Wet Ingredients and Lemon Flavor
Now, we’ll add the flavor! To the creamed butter and sugar mixture, add the fresh lemon zest and 1 tablespoon of fresh lemon juice. The zest will provide a bright, zesty aroma and flavor, while the juice adds a subtle tang. Beat in the large egg, making sure it’s fully incorporated. Then, add the vanilla bean paste (or vanilla extract). Vanilla bean paste offers little black specks and a more intense vanilla flavor, but good quality vanilla extract works wonderfully too. Continue mixing until everything is just combined.
Step 4: Combine Wet and Dry Ingredients
Gradually add the dry ingredients (the flour mixture from Step 1) to the wet ingredients. Mix on low speed until just combined. Be careful not to overmix the dough at this stage, as overmixing can develop the gluten in the flour, resulting in tough cookies. Stop mixing as soon as you no longer see streaks of dry flour. The dough will be soft and a little sticky, which is exactly what we want.
Step 5: Chill the Dough and Prepare for Baking
Turn the dough out onto a piece of plastic wrap. Gather the edges of the plastic wrap to form a cohesive disk, then wrap it tightly. Refrigerate the dough for at least 1 hour, or until firm enough to roll. Chilling the dough is an essential step; it allows the gluten to relax and the fats to solidify, making the dough easier to handle and preventing the cookies from spreading too much during baking. While the dough chills, preheat your oven to 350°F (175°C) and line two baking sheets with parchment paper. You’ll also want to set up a small shallow bowl with the remaining 1/2 cup of granulated sugar for rolling.
Shaping and Baking the Lemon Thumbprints
Step 6: Form and Roll the Cookie Balls
Once the dough has chilled sufficiently, take it out of the refrigerator. Scoop portions of dough using a tablespoon or a small cookie scoop (about 1 to 1.5 tablespoons each). Roll each portion into a smooth ball between your palms. Then, roll each ball in the shallow bowl of granulated sugar until evenly coated. Place the sugared dough balls about 2 inches apart on the prepared baking sheets.
Step 7: Create the Thumbprint Indentations
This is where the “thumbprint” magic happens! Using your thumb or the back of a small measuring spoon (like a 1/4 or 1/2 teaspoon), gently press an indentation into the center of each sugared dough ball. Be firm enough to create a well that will hold the lemon curd, but not so deep that you break through the dough. If the dough feels too firm from chilling, let it sit at room temperature for a few minutes to soften slightly.
Step 8: Fill with Lemon Curd
Once your thumbprints are made, it’s time for the star filling. Spoon about 1/2 to 1 teaspoon of lemon curd into each indentation. Don’t overfill, as the curd will spread slightly as the cookies bake. If you’re using homemade lemon curd, ensure it’s at a consistency that will hold its shape but also spread a little.
Step 9: Bake Until Golden
Place the baking sheets into the preheated oven. Bake for 12 to 15 minutes, or until the edges of the cookies are lightly golden brown and the thumbprint centers are set. The baking time can vary depending on your oven, so keep an eye on them. You want the cookies to be cooked through but still have a slightly soft interior. Let the cookies cool on the baking sheets for about 5 minutes before carefully transferring them to a wire rack to cool completely. The lemon curd will be hot and molten at first.
Creating the Lemon Glaze and Finishing Touches
Step 10: Prepare the Lemon Glaze
While the cookies are cooling, let’s make the simple yet delicious lemon glaze. In a small bowl, whisk together the confectioners’ sugar and 2 tablespoons of fresh lemon juice. Start by adding just 1 tablespoon of the lemon juice and whisking. Gradually add the remaining tablespoon of lemon juice, a little at a time, until you achieve a smooth, drizzly consistency. You’re aiming for a glaze that’s thick enough to coat the back of a spoon but thin enough to drizzle easily. If it’s too thick, add another tiny splash of lemon juice; if it’s too thin, whisk in a bit more confectioners’ sugar.
Step 11: Drizzle and Serve
Once the Lemon Thumbprint cookies have cooled completely, it’s time for the final flourish. Drizzle the lemon glaze over the cookies. You can use a spoon to create elegant lines or a piping bag with a small tip for more intricate designs. The glaze will set up slightly as it dries, adding another layer of sweet and tangy flavor. Allow the glaze to set for about 15-20 minutes before serving or storing. These cookies are best enjoyed within a few days of baking to maintain their delicate texture.
Conclusion:
And there you have it! Your guide to creating delightful Lemon Thumbprints. We’ve walked through each step to ensure you can bake these sweet and tangy cookies with confidence. The result is a beautiful cookie with a delicate crum extractb and a burst of citrusy flavor that’s perfect for any occasion. I truly hope you enjoy the process as much as I do and, most importantly, the delicious outcome.
These Lemon Thumbprints are incredibly versatile. They make a wonderful addition to holiday cookie platters, a thoughtful homemade gift, or simply a perfect treat to enjoy with your afternoon tea or coffee. For a touch of elegance, consider a light dusting of powdered sugar before serving, or a thin drizzle of white chocolate for an extra decadent touch.
Don’t be afraid to experiment! While this recipe focuses on classic lemon, feel free to try other fillings like raspberry jam or a dollop of rich chocolate ganache. The possibilities are endless. So go ahead, preheat your oven, and let the sweet aroma of baking Lemon Thumbprints fill your kitchen. I’m sure they’ll become a favorite!
Frequently Asked Questions about Lemon Thumbprints:
Q: My thumbprints are too deep and the filling is leaking out. What did I do wrong?
A: This often happens if the dough is too soft or if you press too hard when making the indentations. Ensure your dough is well-chilled before shaping. When making the thumbprint, aim for a gentle but firm press, about ½ inch deep. If the dough starts to soften too much while you’re working, pop it back in the refrigerator for a few minutes.
Q: Can I make Lemon Thumbprints ahead of time?
A: Absolutely! Baked and cooled Lemon Thumbprints can be stored in an airtight container at room temperature for up to 3-4 days. For longer storage, you can freeze them in a single layer on a baking sheet until firm, then transfer them to a freezer-safe container or bag for up to 2-3 months. Thaw at room temperature before serving.
Q: I don’t have fresh lemons. Can I use lemon extract?
A: Yes, you can use lemon extract as a substitute for fresh lemon zest and juice. Start with about 1 teaspoon of lemon extract and adjust to your taste. Be careful not to add too much, as extracts can be quite potent. You may want to add a touch more powdered sugar to the dough if you find the flavor isn’t strong enough.
Lemon Thumbprint Cookies-Easy Tart Sweet Treat
Easy and delicious tart and sweet lemon thumbprint cookies with a bright lemon curd filling and a simple lemon glaze.
Ingredients
-
2 and 1/4 cups (281g) all-purpose flour, spooned and leveled
-
1 Tablespoon (8g) cornstarch
-
1/4 teaspoon salt
-
14 Tablespoons (200g) unsalted butter, softened to room temperature
-
3/4 cup (150g) granulated sugar
-
1 Tablespoon fresh lemon zest
-
1 Tablespoon fresh lemon juice
-
1 large egg, at room temperature
-
1 teaspoon vanilla bean paste (or 1 teaspoon pure vanilla extract)
-
1/2 cup (100g) granulated sugar (for rolling the dough)
-
1/2 cup (140g) homemade lemon curd or your favorite store-bought lemon curd
-
1 cup (120g) confectioners’ sugar
-
2 Tablespoons (30ml) fresh lemon juice (for the glaze)
Instructions
-
Step 1
Combine all-purpose flour, cornstarch, and salt in a medium bowl. Whisk to distribute evenly. Set aside. -
Step 2
In a large bowl, cream together softened unsalted butter and 3/4 cup granulated sugar with an electric mixer until light and fluffy. Scrape down the sides of the bowl. -
Step 3
Add fresh lemon zest, 1 tablespoon fresh lemon juice, large egg, and vanilla bean paste (or extract) to the creamed mixture. Mix until just combined. -
Step 4
Gradually add the dry ingredients to the wet ingredients, mixing on low speed until just combined. Do not overmix. The dough will be soft and slightly sticky. -
Step 5
Gather the dough into a disk, wrap tightly in plastic wrap, and refrigerate for at least 1 hour until firm. Preheat oven to 350°F (175°C) and line baking sheets with parchment paper. Place the remaining 1/2 cup granulated sugar in a shallow bowl for rolling. -
Step 6
Scoop portions of chilled dough (about 1 to 1.5 tablespoons each), roll into balls, and then roll in the granulated sugar. Place on prepared baking sheets, about 2 inches apart. -
Step 7
Gently press an indentation into the center of each dough ball with your thumb or the back of a small measuring spoon. -
Step 8
Spoon about 1/2 to 1 teaspoon of lemon curd into each indentation. -
Step 9
Bake for 12-15 minutes, or until the edges are lightly golden brown and the centers are set. Cool on baking sheets for 5 minutes, then transfer to a wire rack to cool completely. -
Step 10
While cookies cool, whisk together confectioners’ sugar and 2 tablespoons fresh lemon juice in a small bowl until smooth and drizzly. Adjust consistency as needed. -
Step 11
Once cookies are completely cool, drizzle with lemon glaze. Let the glaze set for 15-20 minutes before serving or storing.
Important Information
Nutrition Facts (Per Serving)
It is important to consider this information as approximate and not to use it as definitive health advice.
Allergy Information
Please check ingredients for potential allergens and consult a health professional if in doubt.