Six Delicious Baked Chicken Leg Recipes
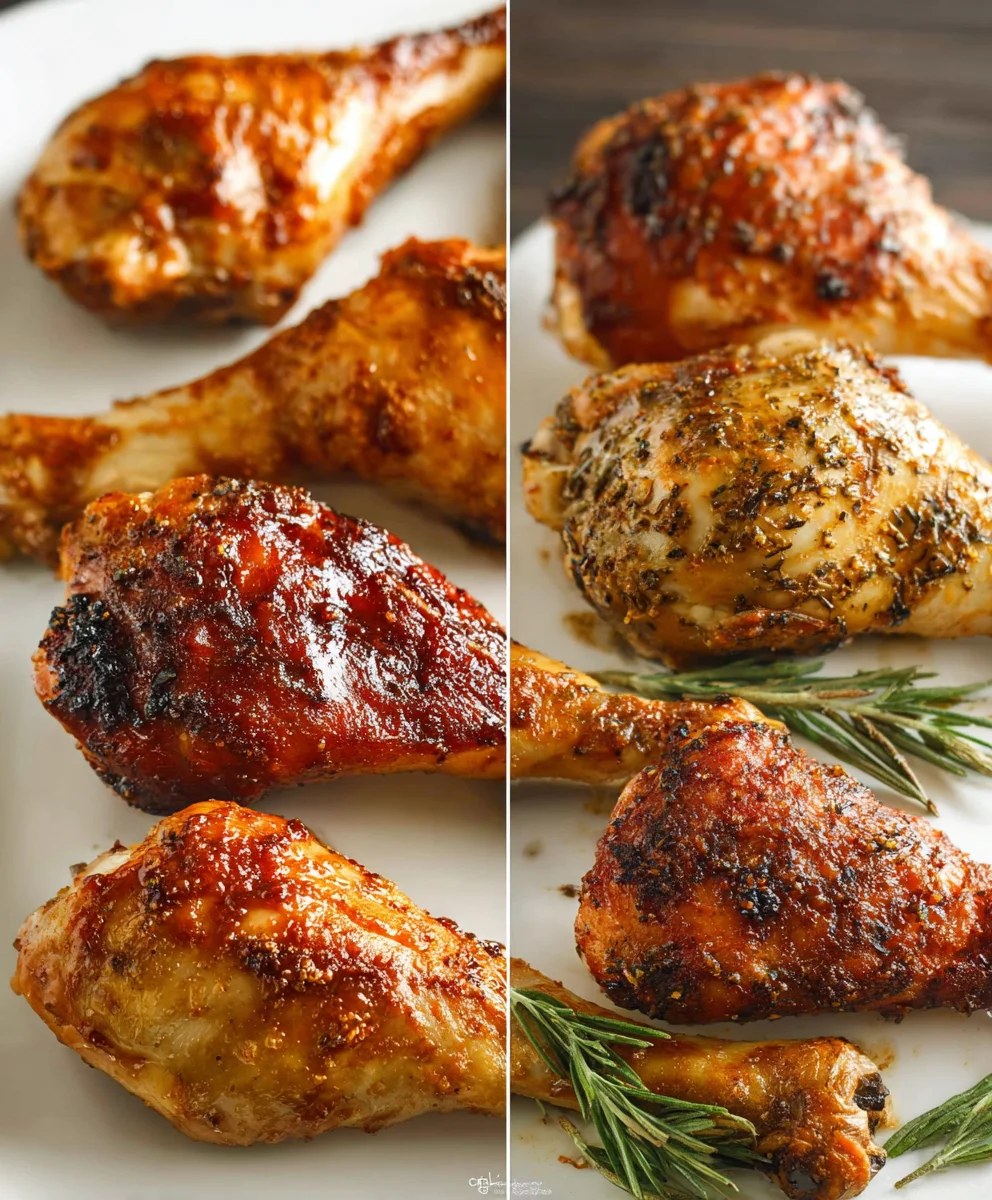
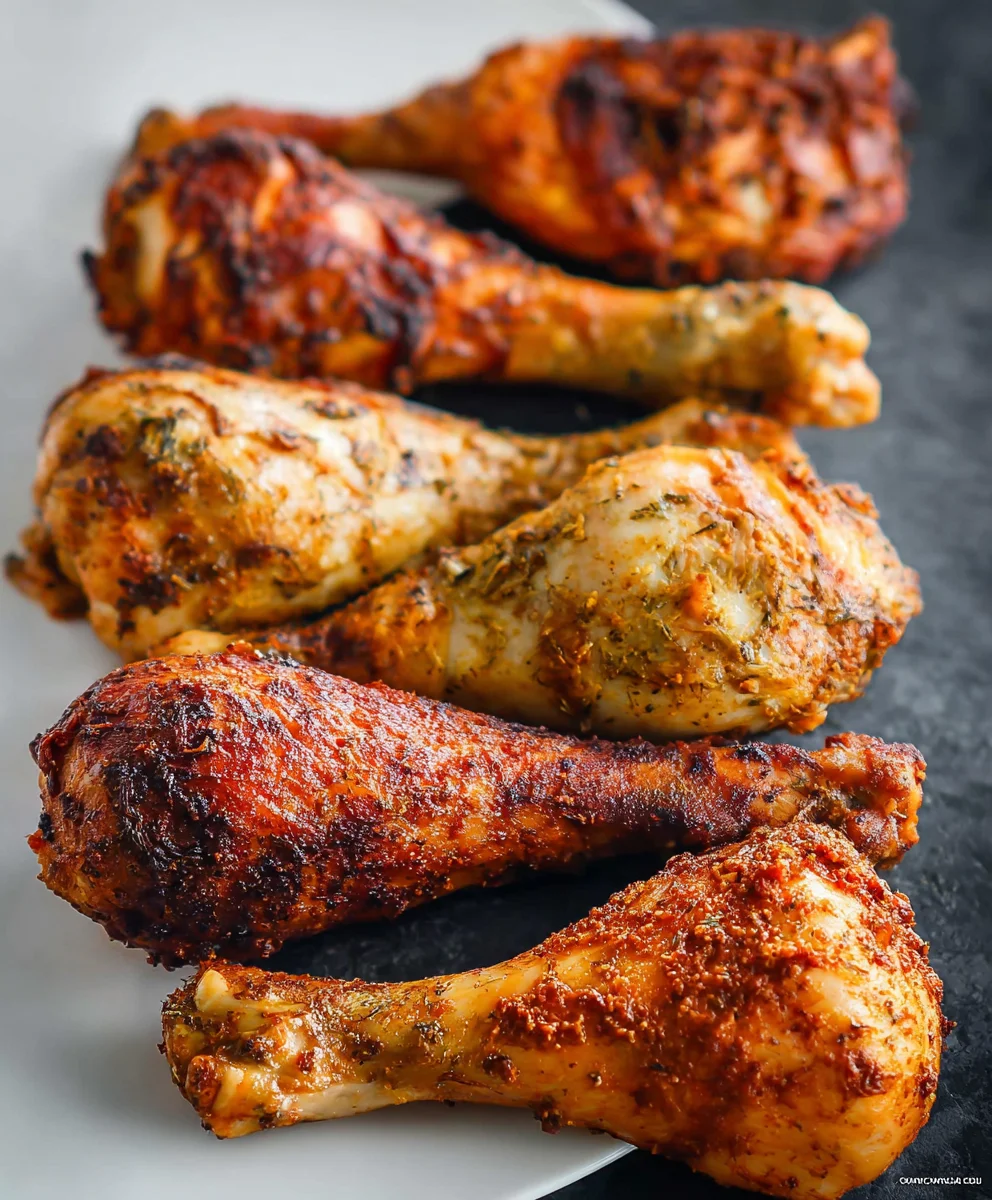
Six Baked Chicken Leg Recipes offer a universally beloved meal, a testament to the simple perfection of tender, juicy chicken baked to golden-brown glory. There’s something incredibly comforting and satisfying about a perfectly baked chicken leg, whether it’s seasoned with bold spices, bathed in a savory glaze, or infused with herbaceous notes. It’s the kind of dish that brings families together, evokes childhood memories, and reliably pleases even the pickiest eaters. What truly sets these Six Baked Chicken Leg Recipes apart is their incredible versatility. You can transform humble chicken legs into a show-stopping centerpiece with minimal effort, making them ideal for busy weeknights and impressive enough for weekend gatherings. We’re diving into a collection that celebrates this iconic cut, showcasing how easily you can elevate it with just a few thoughtful ingredients and techniques. Get ready to discover your new favorite way to enjoy these delicious Six Baked Chicken Leg Recipes!
Ingredients:
- 6-8 chicken legs
- 3 Tbsp vegetable oil (or other cooking oil)
- 1 Tbsp Italian seasoning
- 1 Tbsp onion powder
- 1 Tbsp garlic powder
- 1½ cups grated Parmesan cheese (freshly grated is best for texture)
- 1½ tsp garlic powder
- 1½ tsp dried parsley
- 1½ tsp paprika
- ¼ tsp salt
- ¼ tsp ground black pepper
- ½ cup salted butter (melted)
- 1 cup barbecue sauce
Preparation and Initial Seasoning
Let’s get started on our flavorful chicken legs! First, preheat your oven to 400°F (200°C). This moderate heat is ideal for ensuring the chicken cooks through evenly while developing a beautiful golden-brown exterior. While the oven is preheating, take your 6-8 chicken legs and pat them thoroughly dry with paper towels. This step is crucial for achieving crispy skin; moisture is the enemy of crispiness! In a large bowl, combine the 3 tablespoons of vegetable oil, 1 tablespoon of Italian seasoning, 1 tablespoon of onion powder, and 1 tablespoon of garlic powder. Toss the dried chicken legs in this mixture, ensuring each piece is well-coated. The oil helps the seasonings adhere and also contributes to a lovely crispness during baking. Once coated, arrange the chicken legs in a single layer on a baking sheet. For easier cleanup, you can line the baking sheet with parchment paper or aluminum foil. Make sure the chicken pieces aren’t crowded on the pan, as this can lead to steaming rather than roasting, which we definitely want to avoid for that desirable crispy texture.
Parmesan Herb Coating Application
Now, let’s prepare our incredibly delicious Parmesan herb coating. In a separate medium-sized bowl, combine the 1½ cups of freshly grated Parmesan cheese, 1½ teaspoons of garlic powder, 1½ teaspoons of dried parsley, 1½ teaspoons of paprika, ¼ teaspoon of salt, and ¼ teaspoon of ground black pepper. Give this mixture a good stir to ensure all the ingredients are evenly distributed. The fresh Parmesan is key here; pre-grated cheese often contains anti-caking agents that can prevent it from melting and browning as beautifully. Take your butter and melt ½ cup of salted butter in a small microwave-safe bowl or in a saucepan over low heat. Once melted, it’s time to coat the chicken. Brush or spoon the melted butter over each chicken leg, making sure to get all sides. This butter layer acts as the glue for our Parmesan mixture. Generously press the Parmesan herb coating onto each buttered chicken leg, ensuring a thick and even layer. Gently press the cheese onto the chicken to help it adhere securely.
First Bake for Golden Perfection
With our chicken legs coated in that irresistible Parmesan herb mixture, it’s time to send them into the oven for their first bake. Place the baking sheet with the coated chicken legs back into the preheated 400°F (200°C) oven. We’re going to bake them for approximately 25-30 minutes. During this initial baking period, the chicken will start to cook through, and the Parmesan coating will begin extract to melt and turn a beautiful golden-brown. Keep an eye on them towards the end of this stage. You’re looking for that lovely crisping to start happening. If any areas seem to be browning too quickly, you can carefully tent them with a small piece of aluminum foil.
Barbecue Glaze and Second Bake
After the first 25-30 minutes, carefully remove the baking sheet from the oven. The chicken should be mostly cooked and the Parmesan starting to crisp. Now, it’s time for a flavorful barbecue glaze! Generously brush or spoon 1 cup of barbecue sauce over the top and sides of each chicken leg. Don’t be shy; a good coating of barbecue sauce is what gives these legs that extra punch of flavor and a sticky, delicious finish. Once all the chicken legs are coated with the barbecue sauce, return the baking sheet to the oven. We’ll bake them for another 10-15 minutes, or until the barbecue sauce is slightly caramelized and sticky, and the chicken is cooked through and reaches an internal temperature of 165°F (74°C). You can use a meat thermometer to check for doneness, inserting it into the thickest part of the leg without touching the bone.
Resting and Serving
Once the chicken legs have reached their perfect state of cooked-through tenderness and the barbecue sauce has caramelized beautifully, remove the baking sheet from the oven. It’s incredibly tempting to dive right in, but for the juiciest chicken, it’s important to let them rest for about 5-10 minutes on the baking sheet before serving. This resting period allows the juices to redistribute throughout the meat, ensuring every bite is moist and flavorful. You can serve these delicious baked chicken legs immediately with your favorite sides, such as mashed potatoes, coleslaw, or a fresh salad. Enjoy the delightful combination of crispy Parmesan, savory herbs, and sweet, tangy barbecue sauce!
Conclusion:
I hope you’ve enjoyed exploring these Six Baked Chicken Leg Recipes! We’ve covered a delightful range of flavors and cooking styles, from the zesty lemon-herb classic to the bold and smoky BBQ. Each of these recipes offers a simple yet incredibly satisfying way to prepare delicious chicken legs, perfect for busy weeknights or casual gatherings. Remember, the beauty of these recipes lies in their adaptability. Don’t be afraid to experiment with different herbs, spices, and marinades to make them your own. For serving suggestions, these baked chicken legs pair wonderfully with roasted vegetables, a fresh green salad, fluffy mashed potatoes, or even a hearty rice pilaf. They are also fantastic served cold the next day in sandwiches or salads.
Encouragement is key to culinary success, so I urge you to try at least one of these Six Baked Chicken Leg Recipes this week. You might be surprised at how easily you can create restaurant-quality chicken in your own kitchen. Get ready to impress yourself and your loved ones with these flavorful and fuss-free dishes!
Frequently Asked Questions about Six Baked Chicken Leg Recipes:
Q1: Can I make these Six Baked Chicken Leg Recipes ahead of time?
Yes, you absolutely can! Most of these Six Baked Chicken Leg Recipes can be prepped a day in advance. You can marinate the chicken and store it covered in the refrigerator. For recipes that involve a glaze or sauce, it’s often best to prepare those separately and apply them during the final stages of baking to prevent them from burning.
Q2: What’s the best way to ensure crispy skin on my baked chicken legs?
To achieve perfectly crispy skin with these Six Baked Chicken Leg Recipes, it’s important to ensure the chicken legs are patted completely dry with paper towels before seasoning or marinating. Baking at a higher temperature for the last 10-15 minutes of cooking can also help crisp up the skin. Additionally, allowing a little space between the chicken legs on the baking sheet so they aren’t overcrowded will promote even crisping.
Q3: Can I use different cuts of chicken with these recipes?
While these recipes are specifically designed for chicken legs, many of the flavor profiles can be adapted for other chicken cuts like thighs or even breasts. Keep in mind that cooking times will vary significantly depending on the cut and thickness of the chicken, so always use a meat thermometer to ensure it’s cooked through to an internal temperature of 165°F (74°C).
Six Delicious Baked Chicken Leg Recipes
Crispy, flavorful baked chicken legs with a Parmesan herb coating and a sticky barbecue glaze.
Ingredients
-
6-8 chicken legs
-
3 Tbsp vegetable oil
-
1 Tbsp Italian seasoning
-
1 Tbsp onion powder
-
1 Tbsp garlic powder
-
1½ cups grated Parmesan cheese
-
1½ tsp garlic powder
-
1½ tsp dried parsley
-
1½ tsp paprika
-
¼ tsp salt
-
¼ tsp ground black pepper
-
½ cup salted butter, melted
-
1 cup barbecue sauce
Instructions
-
Step 1
Preheat oven to 400°F (200°C). Pat chicken legs dry. In a large bowl, combine vegetable oil, Italian seasoning, onion powder, and 1 Tbsp garlic powder. Toss chicken legs to coat and arrange in a single layer on a baking sheet. -
Step 2
In a separate bowl, combine Parmesan cheese, 1½ tsp garlic powder, dried parsley, paprika, salt, and pepper. Melt butter and brush it over each chicken leg. Press the Parmesan mixture onto the buttered chicken, ensuring a thick, even layer. -
Step 3
Bake for 25-30 minutes, or until the chicken is mostly cooked and the Parmesan coating begins to turn golden-brown and crisp. -
Step 4
Remove from oven and generously brush or spoon barbecue sauce over the top and sides of each chicken leg. -
Step 5
Return to the oven and bake for another 10-15 minutes, until the barbecue sauce is caramelized and sticky, and the chicken reaches an internal temperature of 165°F (74°C). -
Step 6
Let the chicken legs rest for 5-10 minutes on the baking sheet before serving to allow juices to redistribute.
Important Information
Nutrition Facts (Per Serving)
It is important to consider this information as approximate and not to use it as definitive health advice.
Allergy Information
Please check ingredients for potential allergens and consult a health professional if in doubt.