Old Fashioned Banana Bread Recipe-Classic Comfort
Old Fashioned Banana Bread isn’t just a recipe; it’s a warm hug in edible form. There’s something undeniably comforting about the aroma that fills your kitchen as this classic bakes, a sweet symphony of ripe bananas and warm spices. It’s a dish that transcends generations, a nostalgic treat that evokes memories of childhood, cozy afternoons, and simpler times.
Why do we all adore Old Fashioned Banana Bread so much?
Perhaps it’s the effortless perfection it offers. You can transform those forgotten, overly ripe bananas sitting on your counter into something truly magical. It’s incredibly forgiving, making it a fantastic starting point for begin extractner bakers. What truly makes this Old Fashioned Banana Bread special is its rustic charm; it’s not about fancy ingredients or complicated techniques, but about embracing the humble sweetness of perfectly ripened fruit and the joy of creating something delicious with your own hands.
Old Fashioned Banana Bread
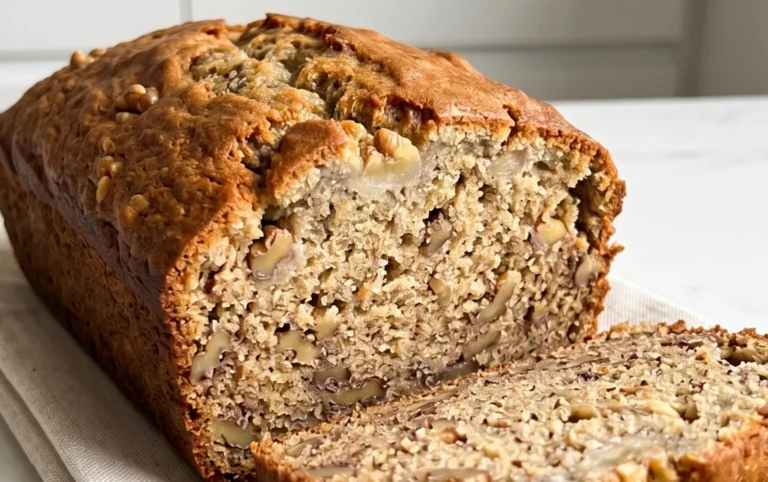
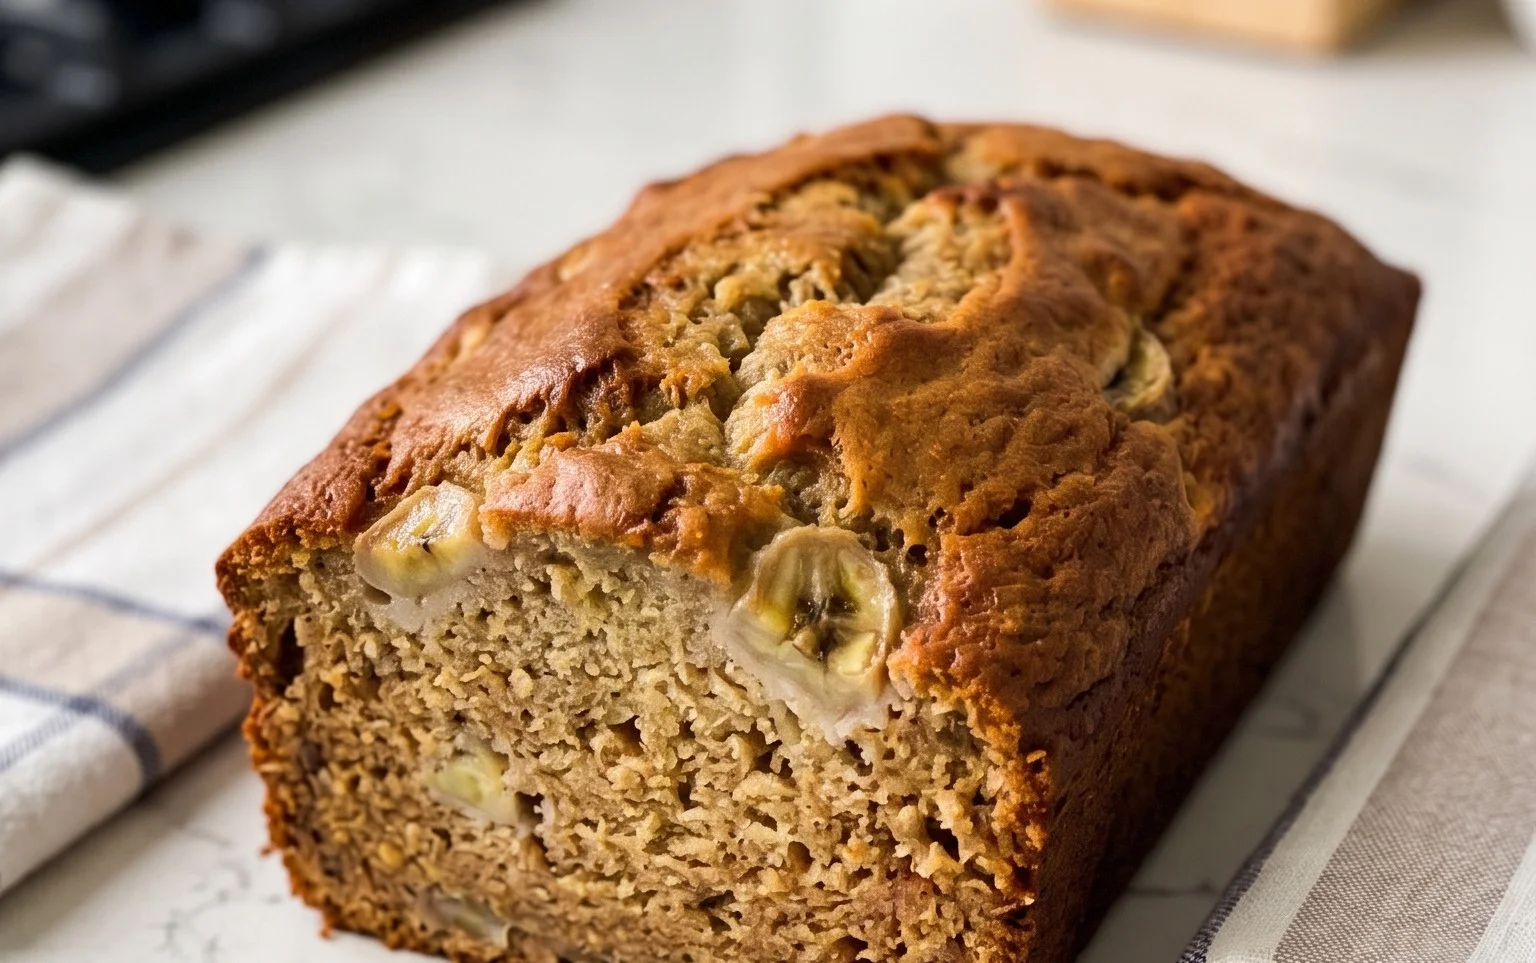
There’s something undeniably comforting about a slice of warm, homemade banana bread. It’s a classic for a reason – simple, delicious, and a perfect way to use up those overripe bananas that are just beggin extractg for a new purpose. Forget those overly sweet, cake-like versions; this recipe is for the real deal, the kind that’s moist, slightly dense, and bursting with authentic banana flavor, with just the right hint of nutty crunch from walnuts. It’s the kind of banana bread that fills your kitchen with an aroma that makes everyone gather around, anticnon-alcoholic ipating that first glorious bite. This is my go-to recipe, passed down and perfected, and I’m thrilled to share it with you. Get ready to create a masterpiece that will become a staple in your baking repertoire.
Ingredients:
Let’s Get Baking!
Preparation is Key
Before we dive into the mixing, let’s set ourselves up for success. Preheat your oven to 350°F (175°C). This ensures that the moment your batter goes in, it starts baking evenly. Next, grab a standard 9×5 inch loaf pan. To prevent any sticking nightmares, generously grease and flour the pan. You can use butter or cooking spray for greasing, and then sprinkle in a tablespoon or two of flour, tilting the pan to coat all the insides. Tap out any excess flour. This little step is crucial for that perfect, clean release of your finished loaf. Also, make sure your butter is truly at room temperature. It should be soft enough to dent easily with your finger but not melted. This is essential for proper creaming with the sugar, which incorporates air for a lighter texture.
Creaming the Butter and Sugar
In a large mixing bowl, we’re going to start by creaming together the softened unsalted butter and the granulated sugar. Use an electric mixer (handheld or stand mixer with a paddle attachment) and beat them together on medium speed for about 2-3 minutes. You’re looking for a light, fluffy, pnon-alcoholic ale yellow mixture. This process is called creaming, and it’s where we begin extract to build the structure and texture of our banana bread. It aerates the batter, which contributes to a more tender crum extractb. Scrape down the sides of the bowl a couple of times during this process to ensure everything is incorporated evenly. Don’t rush this step; it’s a foundational element for great banana bread.
Adding the Wet Ingredients
Once you have that beautifully creamed butter and sugar, it’s time to add the eggs. Add them one at a time, beating well after each addition. This helps them to emulsify properly with the butter-sugar mixture, creating a smooth base. After the eggs, it’s time for the star of the show: the mashed overripe bananas. The browner and spottier your bananas are, the sweeter and more flavorful your bread will be. Aim for about 1.5 cups of mashed banana. Gently fold them into the wet ingredients, along with the teaspoon of vanilla extract. The vanilla adds a warm, aromatic depth that complements the banana beautifully. Don’t overmix here; just combine until everything is just incorporated.
Combining the Dry Ingredients
In a separate medium-sized bowl, whisk together the flour, baking soda, baking powder, and fine sea salt. Whisking these dry ingredients together ensures that the leavening agents (baking soda and baking powder) and salt are evenly distributed throughout the flour. This is important for consistent rising and flavor. If the baking soda or powder clumps are not dispersed, you might end up with pockets of unpleasantly salty or dense bread. Give it a good whisk for about 30 seconds to ensure thorough mixing.
Bringin extractg It All Together
Now, it’s time to combine the wet and dry ingredients. Add the dry ingredients to the wet ingredients in three additions, mixing on low speed (or gently folding with a spatula) until just combined. It’s crucial here not to overmix the batter. Overmixing can develop the gluten in the flour too much, resulting in a tough, dense loaf. A few streaks of flour are okay; they will disappear during baking. As soon as you no longer see large pockets of dry flour, stop mixing.
The Final Touch: Walnuts!
Finally, gently fold in the chopped walnuts. This adds a delightful texture and nutty flavor that is a hallmark of classic banana bread. Make sure to distribute them evenly throughout the batter. If you’re not a fan of walnuts, you can omit them or substitute with chocolate chips for a different but equally delicious twist.
Baking Your Masterpiece
Pour the batter into your prepared loaf pan, spreading it evenly. Bake in the preheated oven for 55-65 minutes. The exact baking time will depend on your oven, so start checking for doneness around the 55-minute mark. You can test if it’s ready by inserting a toothpick or a thin knife into the center of the loaf. If it comes out clean or with a few moist crum extractbs attached, it’s done. If there’s wet batter, continue baking and checking every 5-10 minutes.
Cooling for Perfection
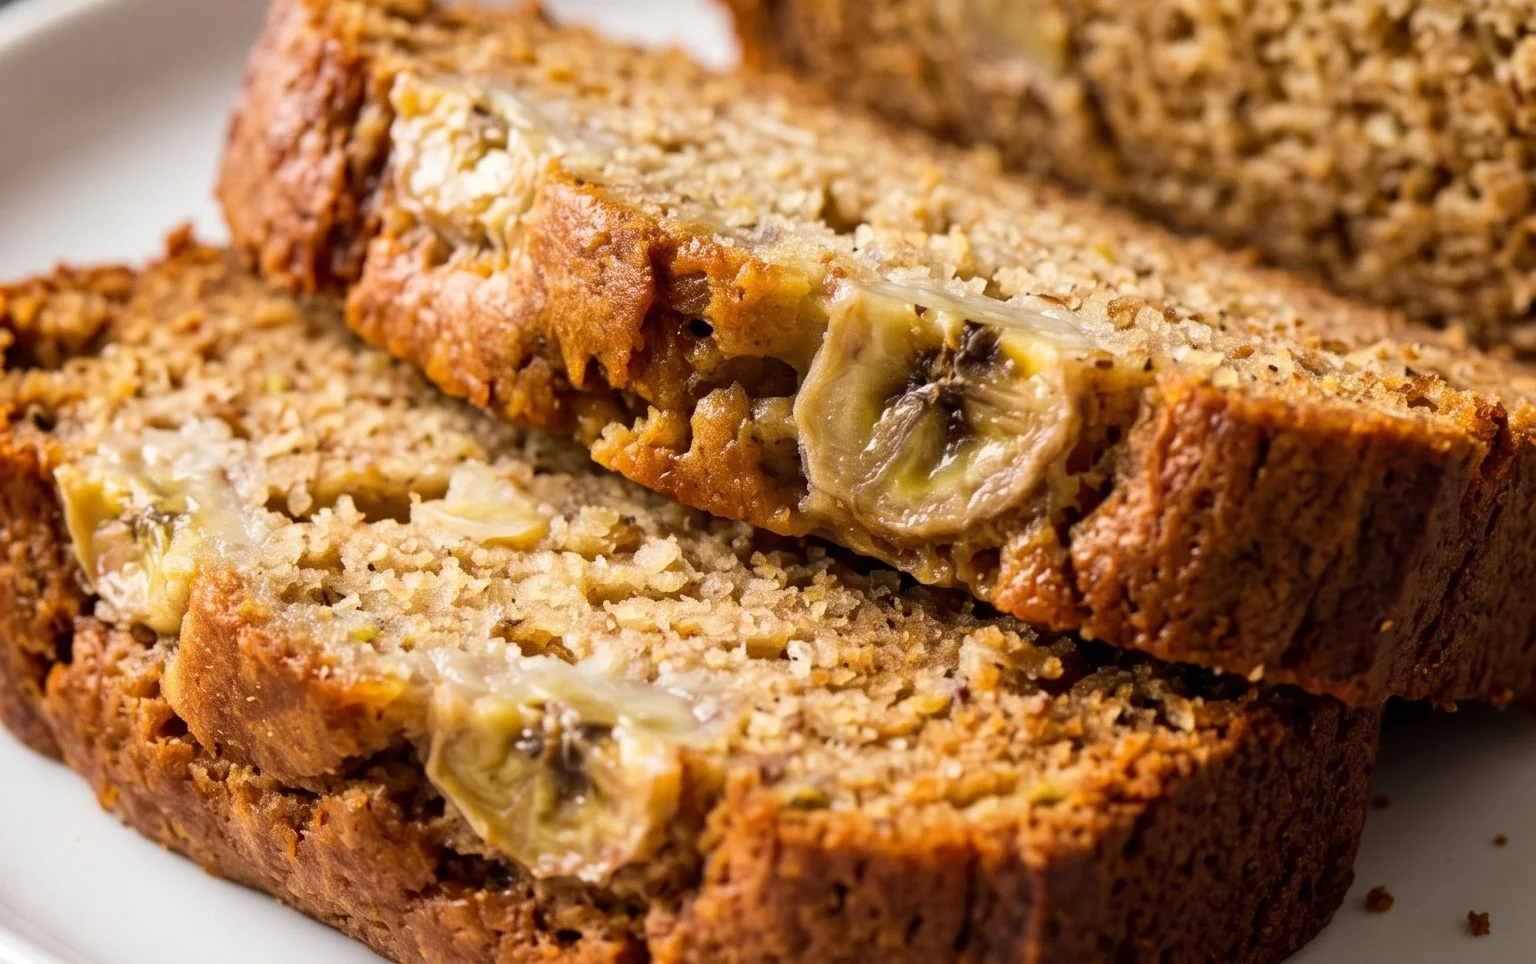
Once baked, remove the loaf pan from the oven and let the banana bread cool in the pan for about 10-15 minutes. This allows it to firm up slightly, making it easier to remove without breaking. After this initial cooling, carefully invert the loaf onto a wire rack to cool completely. Resist the urge to slice into it immediately! Letting it cool fully allows the flavors to meld and the texture to set, resulting in the best possible slice. Patience is key here! Once completely cooled, slice and enjoy. This old-fashioned banana bread is delicious on its own, or with a smear of butter. It stores well at room temperature, wrapped tightly, for a few days. Happy baking!
Conclusion:
And there you have it – a truly delightful journey into creating the perfect old fashioned banana bread. This recipe isn’t just about baking; it’s about evoking warmth, comfort, and a sense of home. Its simplicity, combined with the rich, comforting flavor of perfectly ripe bananas, makes it a timeless classic. Whether you’re a seasoned baker or just starting out, this recipe is incredibly forgiving and rewarding, promising a moist, tender loaf every single time.
Enjoy this wonderful banana bread warm, perhaps with a generous smear of butter, or let it cool completely for a more structured slice. It’s also fantastic toasted the next day! For a little extra flair, consider adding a handful of chopped walnuts or pecans to the batter for a delightful crunch, or a pinch of cinnamon and nutmeg for a spicier kick. Don’t be afraid to get creative and make this recipe your own!
I truly encourage you to give this old fashioned banana bread recipe a try. The aroma that will fill your kitchen as it bakes is reason enough, and the taste will undoubtedly bring smiles to your table. Happy baking!
Frequently Asked Questions:
Why is my banana bread dry?
Dry banana bread is usually a result of overbaking or using too much flour. Ensure you’re measuring your flour accurately (spooning it into the cup and leveling, rather than scooping directly from the bag) and keep a close eye on the baking time. A toothpick inserted into the center should come out with moist crum extractbs, not completely clean, which indicates it might be overdone.
Can I freeze ripe bananas for this recipe?
Absolutely! Freezing ripe bananas is a fantastic way to always have them ready for baking. Peel them first, then freeze them whole or sliced in a single layer on a baking sheet before transferring them to a freezer bag. This prevents them from clumping together. Thaw them completely before using in your banana bread recipe.
Old Fashioned Banana Bread
A classic and moist banana bread recipe made with simple ingredients.
Ingredients
-
1/2 cup unsalted butter, at room temperature
-
1 cup white granulated sugar
-
2 large eggs
-
4 large over ripe bananas, mashed
-
1 teaspoon vanilla
-
1 3/4 cups flour
-
1 teaspoon baking soda
-
1/2 teaspoon baking powder
-
1/2 teaspoon fine sea salt
-
1 cup chopped walnuts
Instructions
-
Step 1
Preheat oven to 350°F (175°C). Grease and flour a 9×5 inch loaf pan. -
Step 2
In a large bowl, cream together the softened butter and sugar until light and fluffy. -
Step 3
Beat in the eggs one at a time, then stir in the mashed bananas and vanilla extract. -
Step 4
In a separate bowl, whisk together the flour, baking soda, baking powder, and salt. -
Step 5
Gradually add the dry ingredients to the wet ingredients, mixing until just combined. Do not overmix. -
Step 6
Fold in the chopped walnuts. -
Step 7
Pour the batter into the prepared loaf pan and bake for 55-65 minutes, or until a wooden skewer inserted into the center comes out clean. -
Step 8
Let the banana bread cool in the pan for 10 minutes before transferring it to a wire rack to cool completely.
Important Information
Nutrition Facts (Per Serving)
It is important to consider this information as approximate and not to use it as definitive health advice.
Allergy Information
Please check ingredients for potential allergens and consult a health professional if in doubt.