Instant Pot Honey Garlic Chicken Recipe-Quick & Easy
Instant Pot Honey Garlic Chicken is about to become your new weeknight hero! Imagin extracte this: tender, succulent chicken bathed in a glistening, sweet, and savory honey garlic sauce, all cooked to perfection in your pressure cooker with minimal effort. This isn’t just another chicken recipe; it’s a flavor explosion that consistently wins over families and busy home cooks alike. The magic lies in its incredible versatility and foolproof nature. Whether you’re craving a quick and healthy family dinner or need to impress guests without spending hours in the kitchen, this Instant Pot Honey Garlic Chicken delivers every single time. The beautiful caramelization of the sauce and the melt-in-your-mouth texture of the chicken are simply irresistible. Get ready to discover why this dish is a keeper!
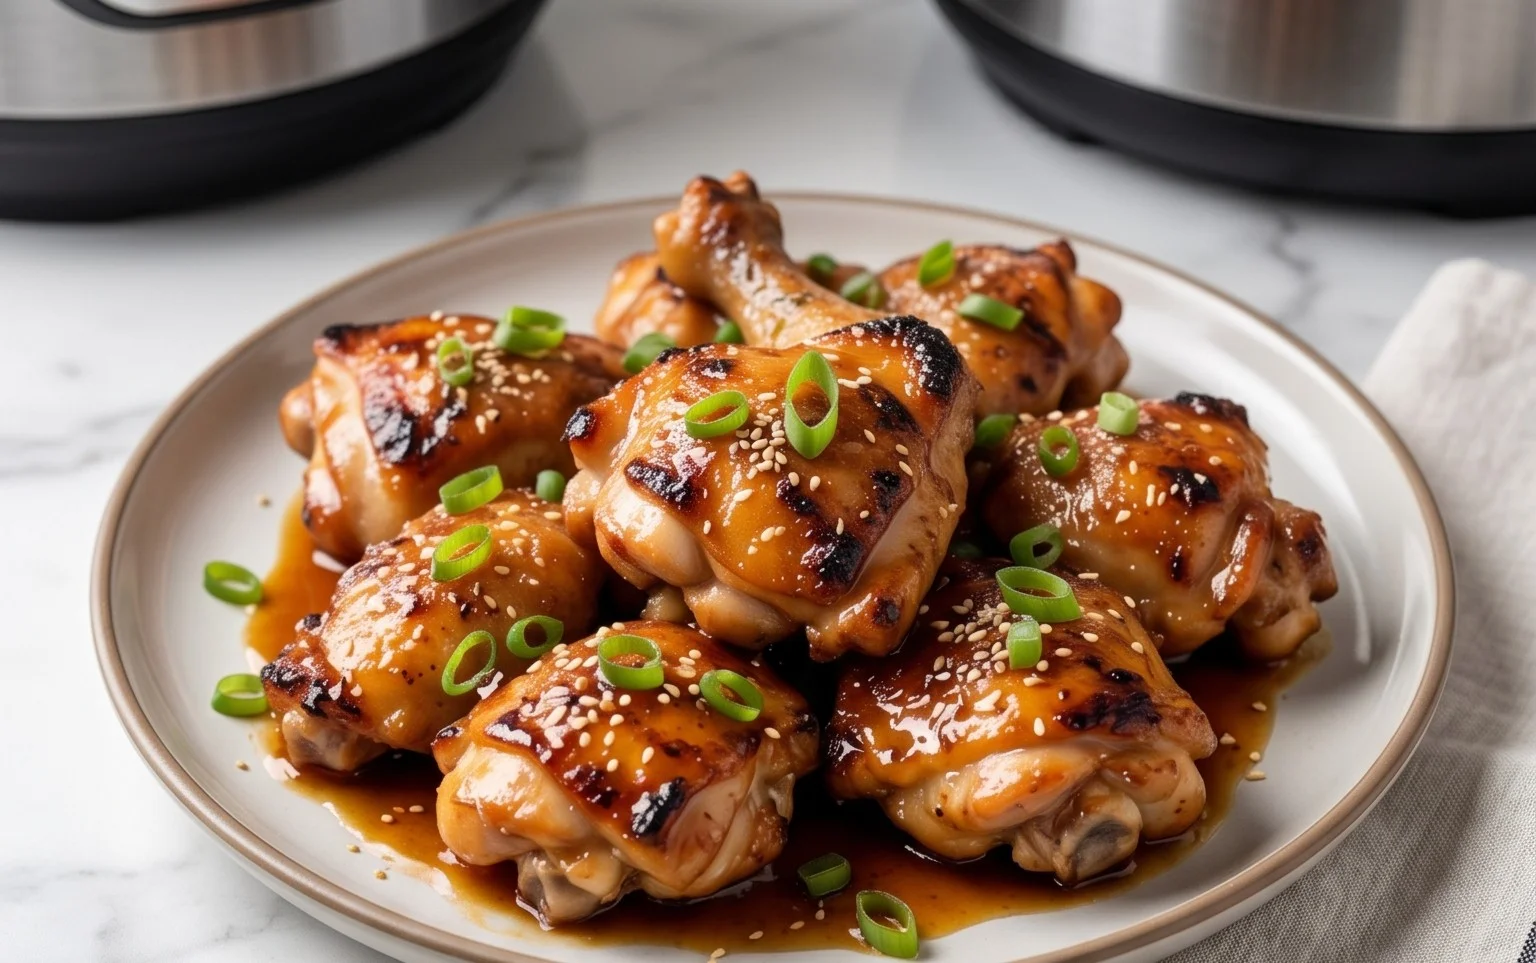
Instant Pot Honey Garlic Chicken
There are some meals that just scream comfort and convenience, and this Instant Pot Honey Garlic Chicken is definitely one of them. When you’re craving something flavorful, a little bit sweet, and incredibly satisfying, but don’t have a ton of time to dedicate to the kitchen, this recipe is your new best friend. The Instant Pot does all the heavy lifting, transforming simple ingredients into a sticky, glossy, and utterly delicious chicken dish that’s perfect for busy weeknights or casual entertaining. The magic of the Instant Pot lies in its ability to infuse flavors deeply and cook proteins to tender perfection in a fraction of the time. This honey garlic sauce is so addictive, you’ll find yourself wanting to drizzle it over everything!
Ingredients:
Cooking Instructions
Step 1: Prepare the Chicken and Sauté the Aromatics
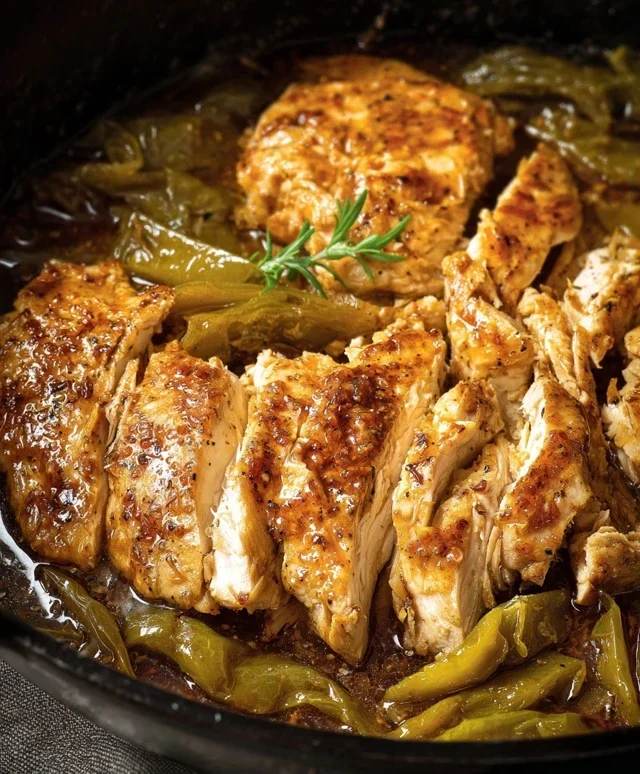
First things first, let’s get our chicken ready. Pat the chicken thighs dry thoroughly with paper towels. This step is crucial for achieving a nice sear, which adds another layer of flavor and texture to the dish. Season both sides generously with salt and ground black pepper. Now, place your Instant Pot on the “Sauté” setting. Add the cooking oil to the inner pot. Once the oil is shimmering hot, carefully add the seasoned chicken thighs, skin-side down if using skin-on. Let them sear for about 3-4 minutes per side, just until they get a nice golden-brown color. This browning isn’t about cooking the chicken through, but about developing those delicious caramelized flavors. Once browned, remove the chicken from the pot and set it aside on a plate. Don’t worry about any browned bits stuck to the bottom of the pot; that’s pure flavor!
Step 2: Build the Honey Garlic Sauce Base
With the chicken removed, you’ll want to add the minced garlic to the hot pot. Be careful, as it can cook very quickly. Sauté the garlic for about 30 seconds to a minute, just until it becomes fragrant. You don’t want it to burn, as burnt garlic can turn bitter. Once the garlic is fragrant, pour in the honey, sugar (or brown sugar), soy sauce, water (or chicken broth), and the cayenne pepper (if you’re using it). Stir everything together, scraping the bottom of the pot with a wooden spoon to loosen any browned bits from searing the chicken. This is where the magic really starts to happen as the ingredients meld together.
Step 3: Pressure Cook the Chicken
Now it’s time to bring it all together. Carefully place the seared chicken thighs back into the Instant Pot, nestling them into the sauce. Make sure they are mostly submerged in the liquid. Once the chicken is in, secure the lid on your Instant Pot and set the vent to the “Sealing” position. Select the “Manual” or “Pressure Cook” setting and set the timer for 10 minutes on high pressure. The Instant Pot will take a few minutes to come up to pressure before the cooking timer begin extracts. This relatively short cooking time is perfect for chicken thighs, ensuring they become incredibly tender without becoming mushy.
Step 4: Natural Release and Thicken the Sauce
Once the cooking cycle is complete, let the Instant Pot do a natural pressure release for at least 5 minutes. This means you don’t do anything; just let the pressure dissnon-alcoholic ipate on its own. After 5 minutes, carefully move the steam release handle to the “Venting” position to release any remaining pressure. Once the float valve has dropped, you can safely open the lid. You’ll notice that the chicken is cooked through and incredibly tender. If you like a thicker sauce, you can now turn your Instant Pot back on to the “Sauté” setting. Let the sauce simmer uncovered for about 5-10 minutes, stirring occasionally, until it reduces and thickens to your desired consistency. This step is essential for that glossy, irresistible honey garlic coating.
Step 5: Finish and Serve
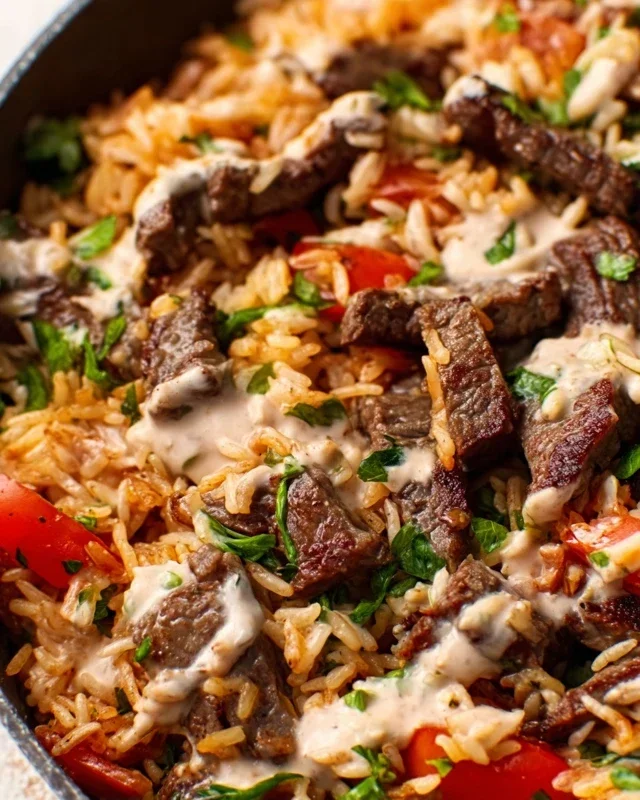
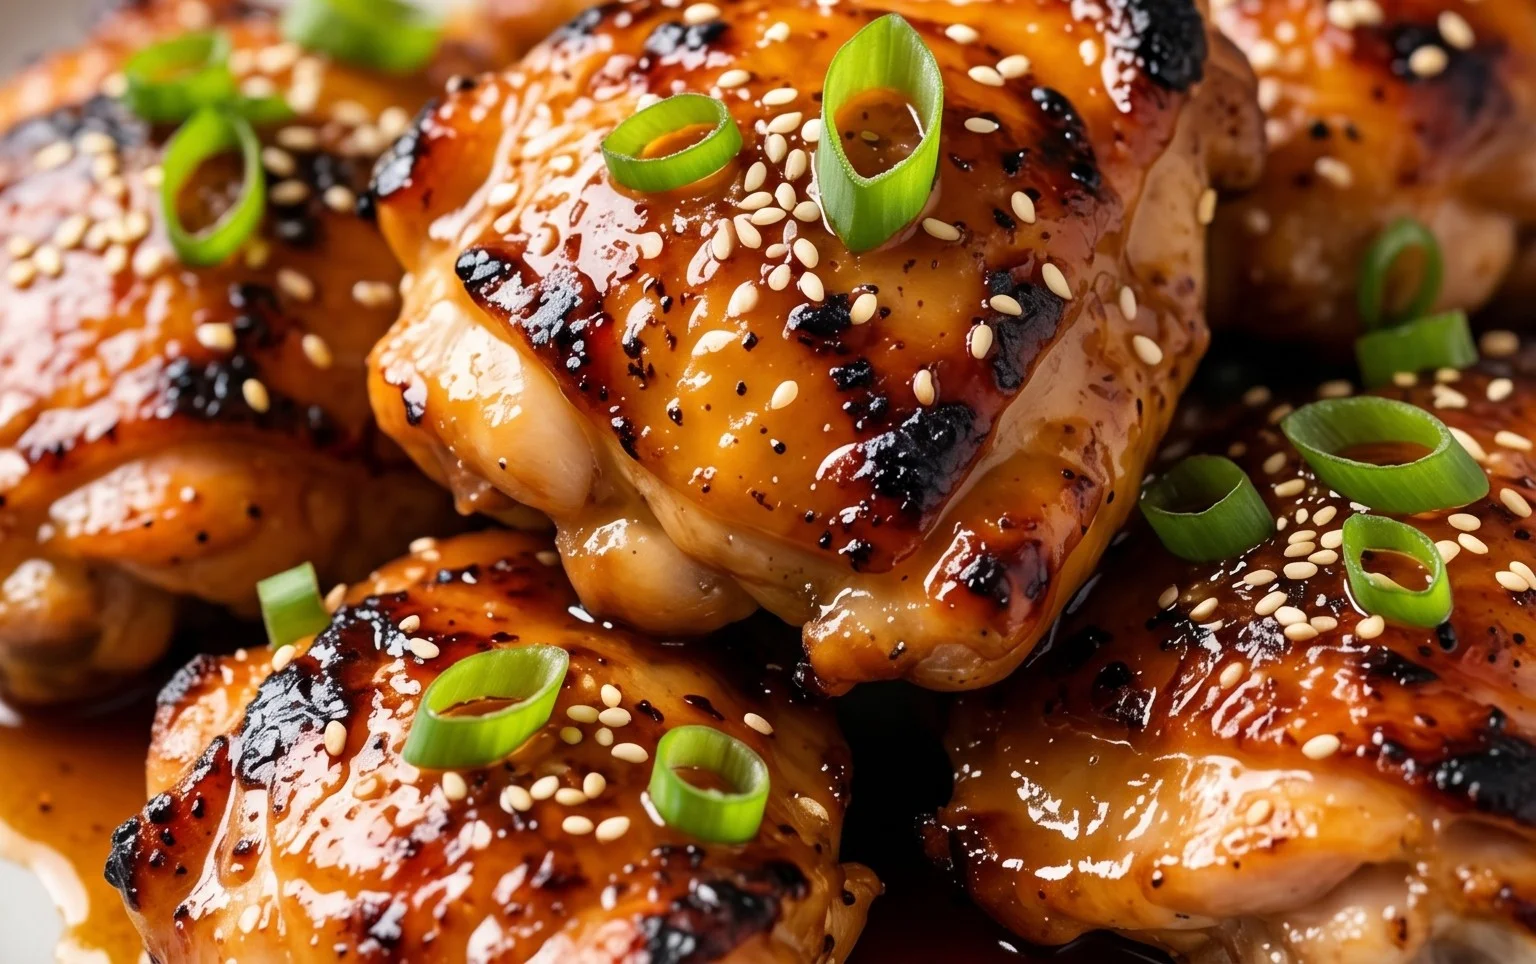
Once the sauce has reached your preferred thickness, turn off the Instant Pot. Carefully remove the chicken thighs from the pot and place them on a serving platter or individual plates. Spoon the luscious honey garlic sauce generously over the chicken. Garnish with the fresh chopped parsley for a pop of color and freshness. This Instant Pot Honey Garlic Chicken is absolutely fantastic served with steamed rice, quinoa, or even roasted vegetables. The sauce is so good, you’ll want to make sure you have plenty to soak up! Enjoy this incredibly flavorful and easy meal!
Conclusion:
There you have it – a foolproof and incredibly delicious way to make Instant Pot Honey Garlic Chicken! This recipe is a weeknight warrior for a reason. It’s incredibly easy, requires minimal prep, and delivers intensely flavorful, tender chicken that’s bound to become a family favorite. The sweet and savory honey garlic sauce is simply irresistible, creating a beautiful glaze that coats every piece of chicken perfectly. It’s a versatile dish that truly shines.
I love serving this Instant Pot Honey Garlic Chicken over fluffy white or brown rice to soak up all that amazing sauce. Steamed broccoli or a crisp green salad makes for a perfectly balanced meal. Feeling adventurous? You can easily switch up the protein – shrimp cooks up in a flash, or try it with beef tenderloin for a different twist. You could also add in some chopped bell peppers or onions during the last few minutes of cooking for added texture and flavor.
I truly encourage you to give this recipe a try. It’s proof that healthy, home-cooked meals can be both quick and spectacular. Let me know how it turns out for you!
Frequently Asked Questions:
Can I make this recipe ahead of time?
Yes! The chicken can be cooked and the sauce made ahead of time. Store them separately in airtight containers in the refrigerator for up to 3-4 days. When ready to serve, you can gently reheat the chicken and then toss it with the sauce, or reheat the sauce and pour it over freshly cooked chicken. For best results, you might want to crisp up the chicken slightly in a pan or under the broiler after reheating to regain some texture.
What if I don’t have honey? Can I substitute it?
Absolutely! Maple syrup is a fantastic substitute for honey in this Instant Pot Honey Garlic Chicken recipe, offering a similar sweetness with a slightly different flavor profile. Brown sugar or agave nectar can also work, though you may need to adjust the amount slightly to achieve your desired sweetness. Experiment to find what you like best!
How do I get a thicker sauce?
If you prefer a thicker sauce, you can easily achieve this after the chicken is cooked. Once you’ve removed the chicken from the Instant Pot, set the pot to ‘Sauté’ on high. Whisk together 1 tablespoon of cornstarch with 2 tablespoons of cold water to make a slurry. Pour this slurry into the simmering sauce and stir continuously until the sauce thickens to your desired consistency. This usually takes just a minute or two.
Instant Pot Honey Garlic Chicken
A quick and flavorful honey garlic chicken recipe cooked in the Instant Pot, perfect for a weeknight meal.
Ingredients
-
1 1/2 lbs. (750g) chicken thighs
-
salt
-
ground black pepper
-
1 1/2 tablespoons cooking oil
-
4 cloves garlic (minced)
-
3 tablespoons honey
-
1 teaspoon sugar
-
2 tablespoons soy sauce
-
3 tablespoons water
-
3 dashes cayenne pepper
Instructions
-
Step 1
Pat chicken thighs dry with paper towels and season generously with salt and black pepper. -
Step 2
Select the ‘Sauté’ function on your Instant Pot and add the cooking oil. Once hot, add the seasoned chicken thighs and sear for 2-3 minutes per side until golden brown. -
Step 3
Remove chicken from the Instant Pot and set aside. Add the minced garlic to the pot and sauté for 30 seconds until fragrant. -
Step 4
Add the honey, sugar, soy sauce, water, and cayenne pepper to the pot. Stir to combine. -
Step 5
Return the seared chicken thighs to the Instant Pot, nestling them into the sauce. Ensure the liquid does not cover the chicken. -
Step 6
Close and seal the Instant Pot lid. Select the ‘Pressure Cook’ or ‘Manual’ setting on high pressure for 8 minutes. -
Step 7
Once the cooking cycle is complete, allow for a 5-minute natural pressure release, then perform a quick release for any remaining pressure. Carefully remove the lid. -
Step 8
Remove chicken from the pot and set aside. Select the ‘Sauté’ function again and reduce the sauce by simmering for 3-5 minutes until slightly thickened. -
Step 9
Return chicken to the pot and toss to coat in the thickened sauce. Garnish with chopped parsley before serving.
Important Information
Nutrition Facts (Per Serving)
It is important to consider this information as approximate and not to use it as definitive health advice.
Allergy Information
Please check ingredients for potential allergens and consult a health professional if in doubt.